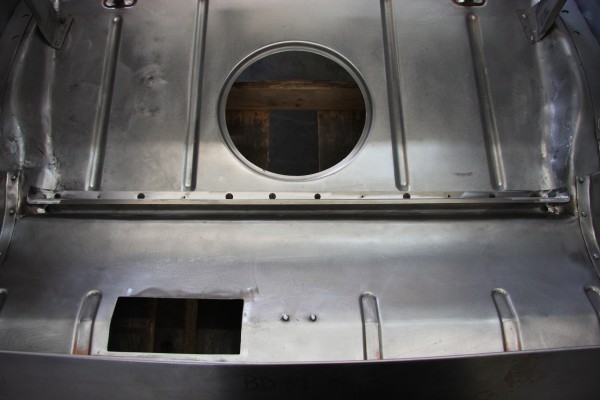
The gas tank sending unit cover hole has not yet been cut into the reproduction rear floor pan.

And we now have a hole where there wasn’t one before, amazing! You will notice the rumble seat retainer and water dam has been temporally installed to the rear floor pan there are two small clips that hold the rear rumble seat in place that need to be spot welded to the dam.
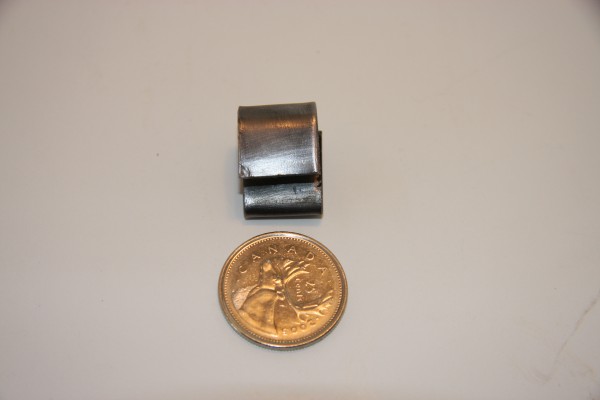
Rumble seat retainer clips, I must thank Douglas Grant from FordBarn for sending me an original clip from his original 34 roadster that he is currently restoring so that I can reproduce them.
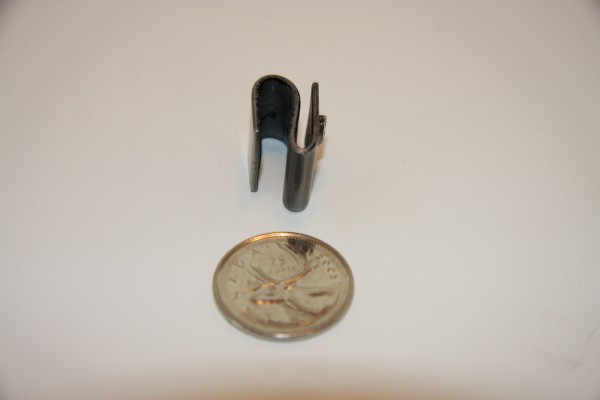
These clips were obviously heat treated at the factory because they are very hard and hold their shape.
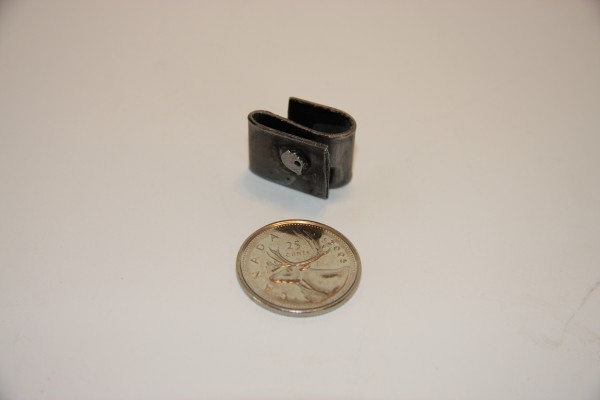
I bought some 4140 annealed steel to reproduce the clips and will have them heat treated in the next few weeks. I will add a few photos when they are installed to the rear dam.
{ }
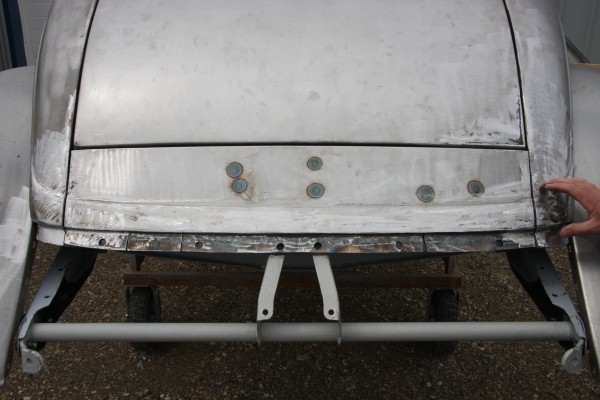
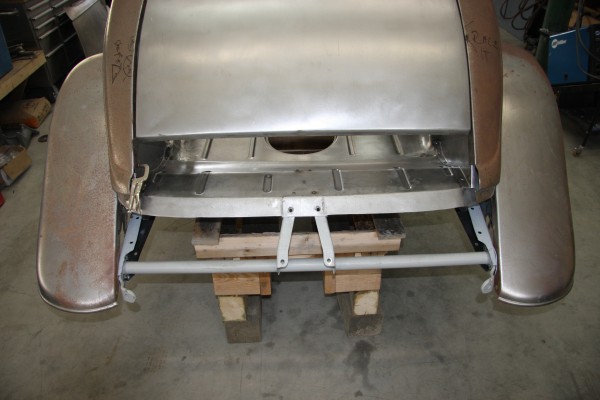
I must say the reproduction panels look right – until you try to fit them into the car. The panel below the deck lid needed extensive modifications so it correctly fit the contour of the body.
It was too wide at the lower bead so it was cut lengthwise and then welded back together to the correct dimensions.

Where the rear quarter panel meets the panel below the deck lid. Where my hand is pointing had to also be reshaped to match the correct contour. We also found that the holes that were drilled into the lower panel did not match the holes on the gas tank cover panel.

A little closer look – you can see the additional metal work that needed to be done in this area.
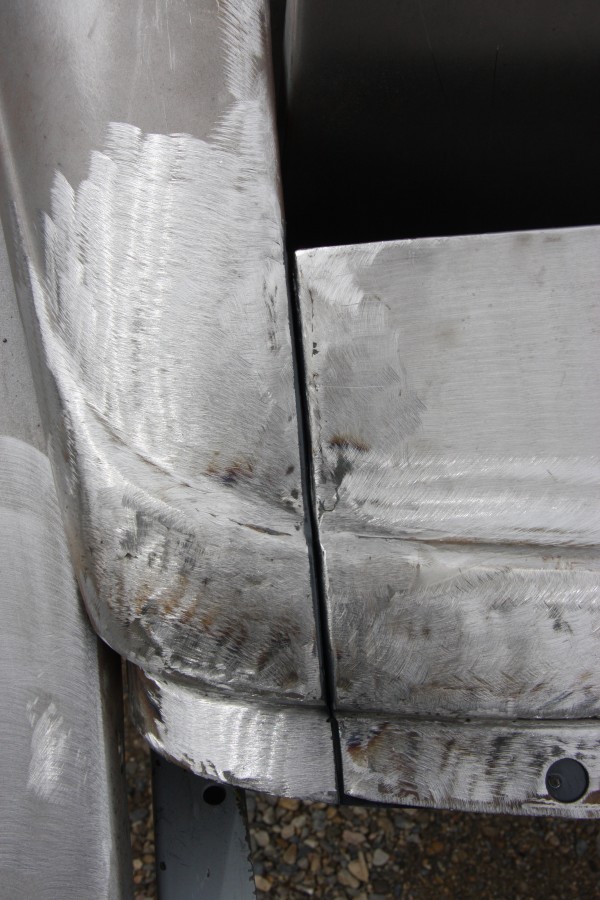
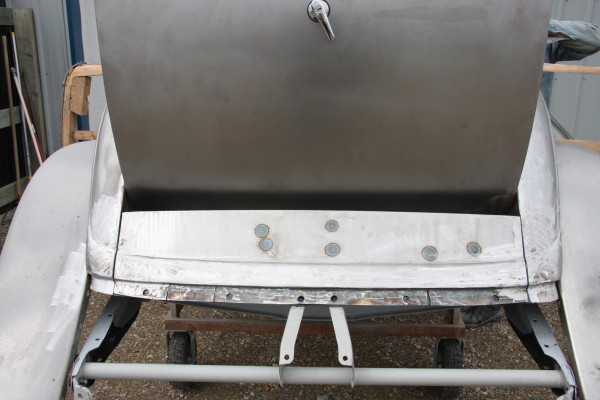
We are finding that most of the 34 reproduction replacement panels look great out of the box but they don’t quite fit and some need extensive modifications so they are dimensionally correct. Its fortunate that I started with an OEM body and have most of the original body dimensions as a go-by.
Although you can’t really see it, the rear floor pan and quarter panels needed a little cutting and shaping on both corners and then were welded back together.
{ }
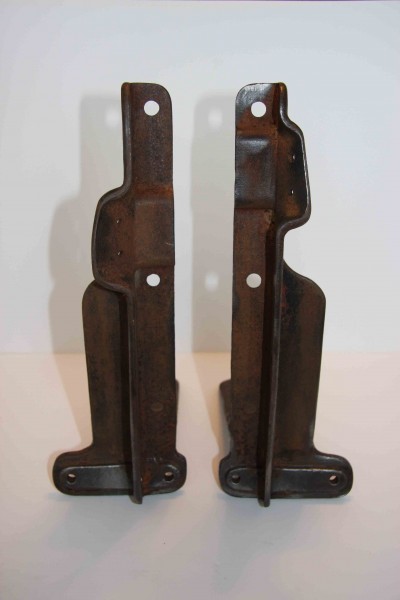
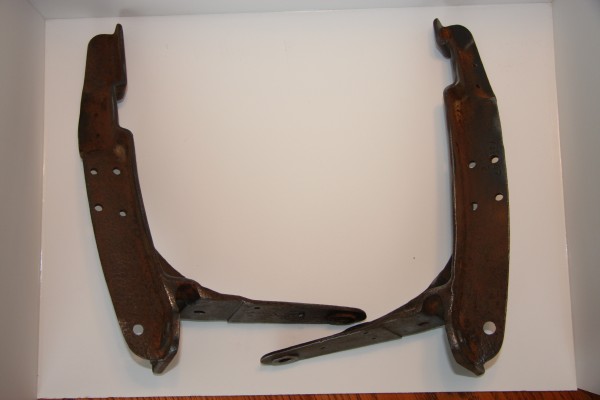
I was fortunate to find an original set of B-Pillar Roadster brackets to replace the ones that were on my car. They had been cut and then poorly re-restored.
This photo shows the replacement set and you can clearly see the difference between the driver side bracket on the right and passengers.

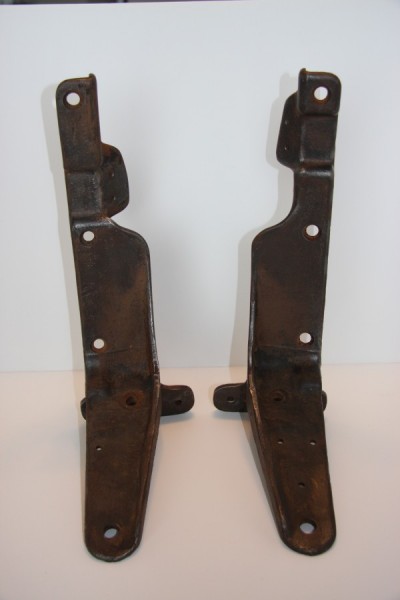
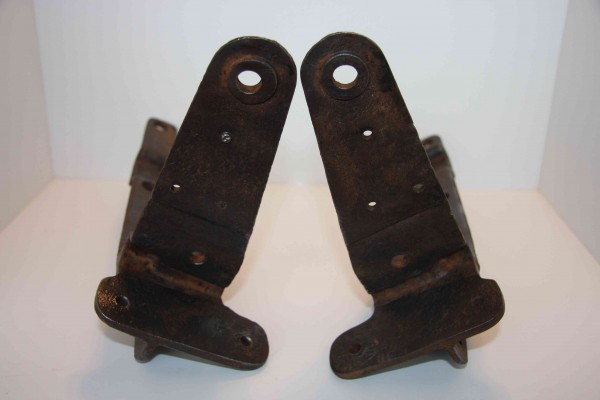
This is the backside of the brackets again – driver’s side on the right.
The reverse side of the brackets – again driver side is on the right.
The base of the B-Pillars – drivers side on the right. You can see the 3 holes in the base of each bracket. These are to rivet the B-Pillar to the sub-floor.
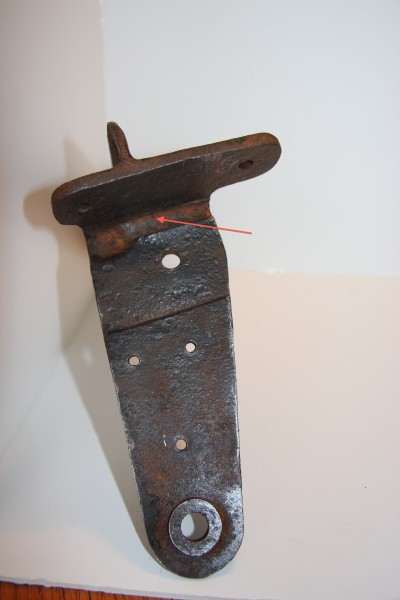
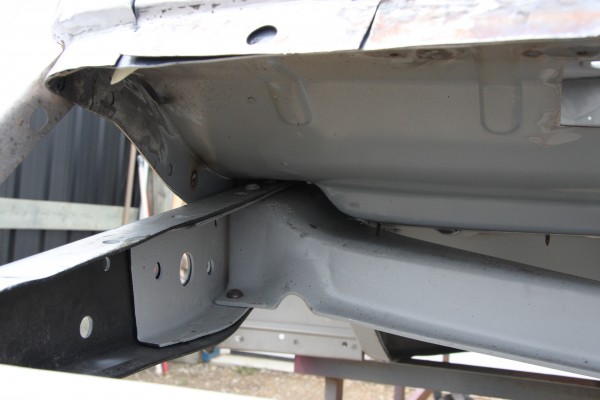
At the base of the B-Pillar the red arrow is pointing to the indentation that matches the profile of the sub-rail.
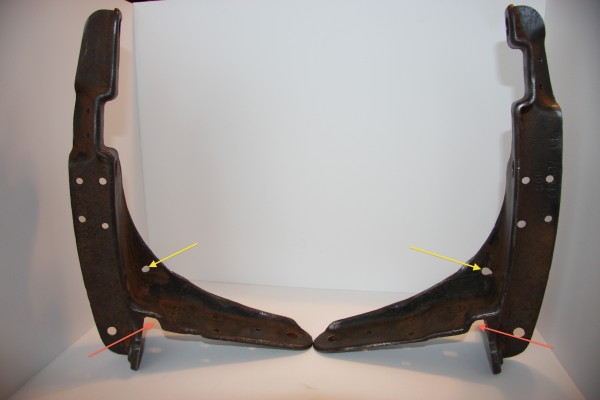
With the B-Pillars standing (drivers side on the right) the red arrows shows the indentation in the B-Pillar casting that matches the sub-rail profile. The yellow arrows are pointing to holes that should not be there. They will be welded up.
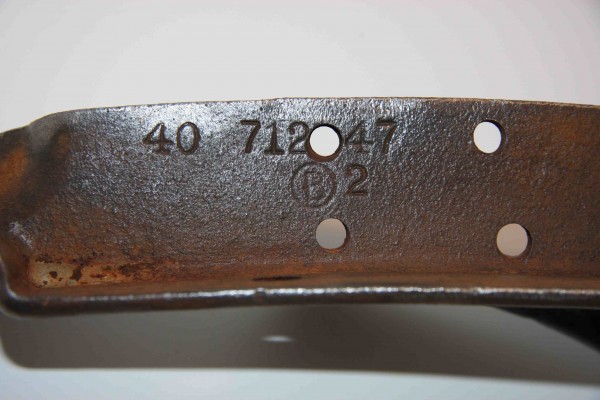
Finally the drivers side B-Pillar has the part number stamped into the backside of the bracket.
{ }