by Steve
on June 15, 2013
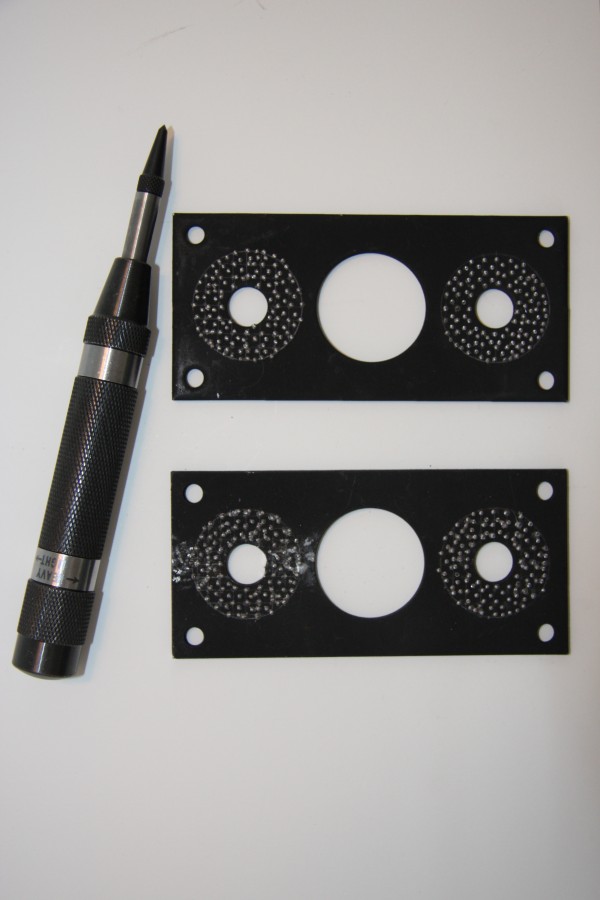
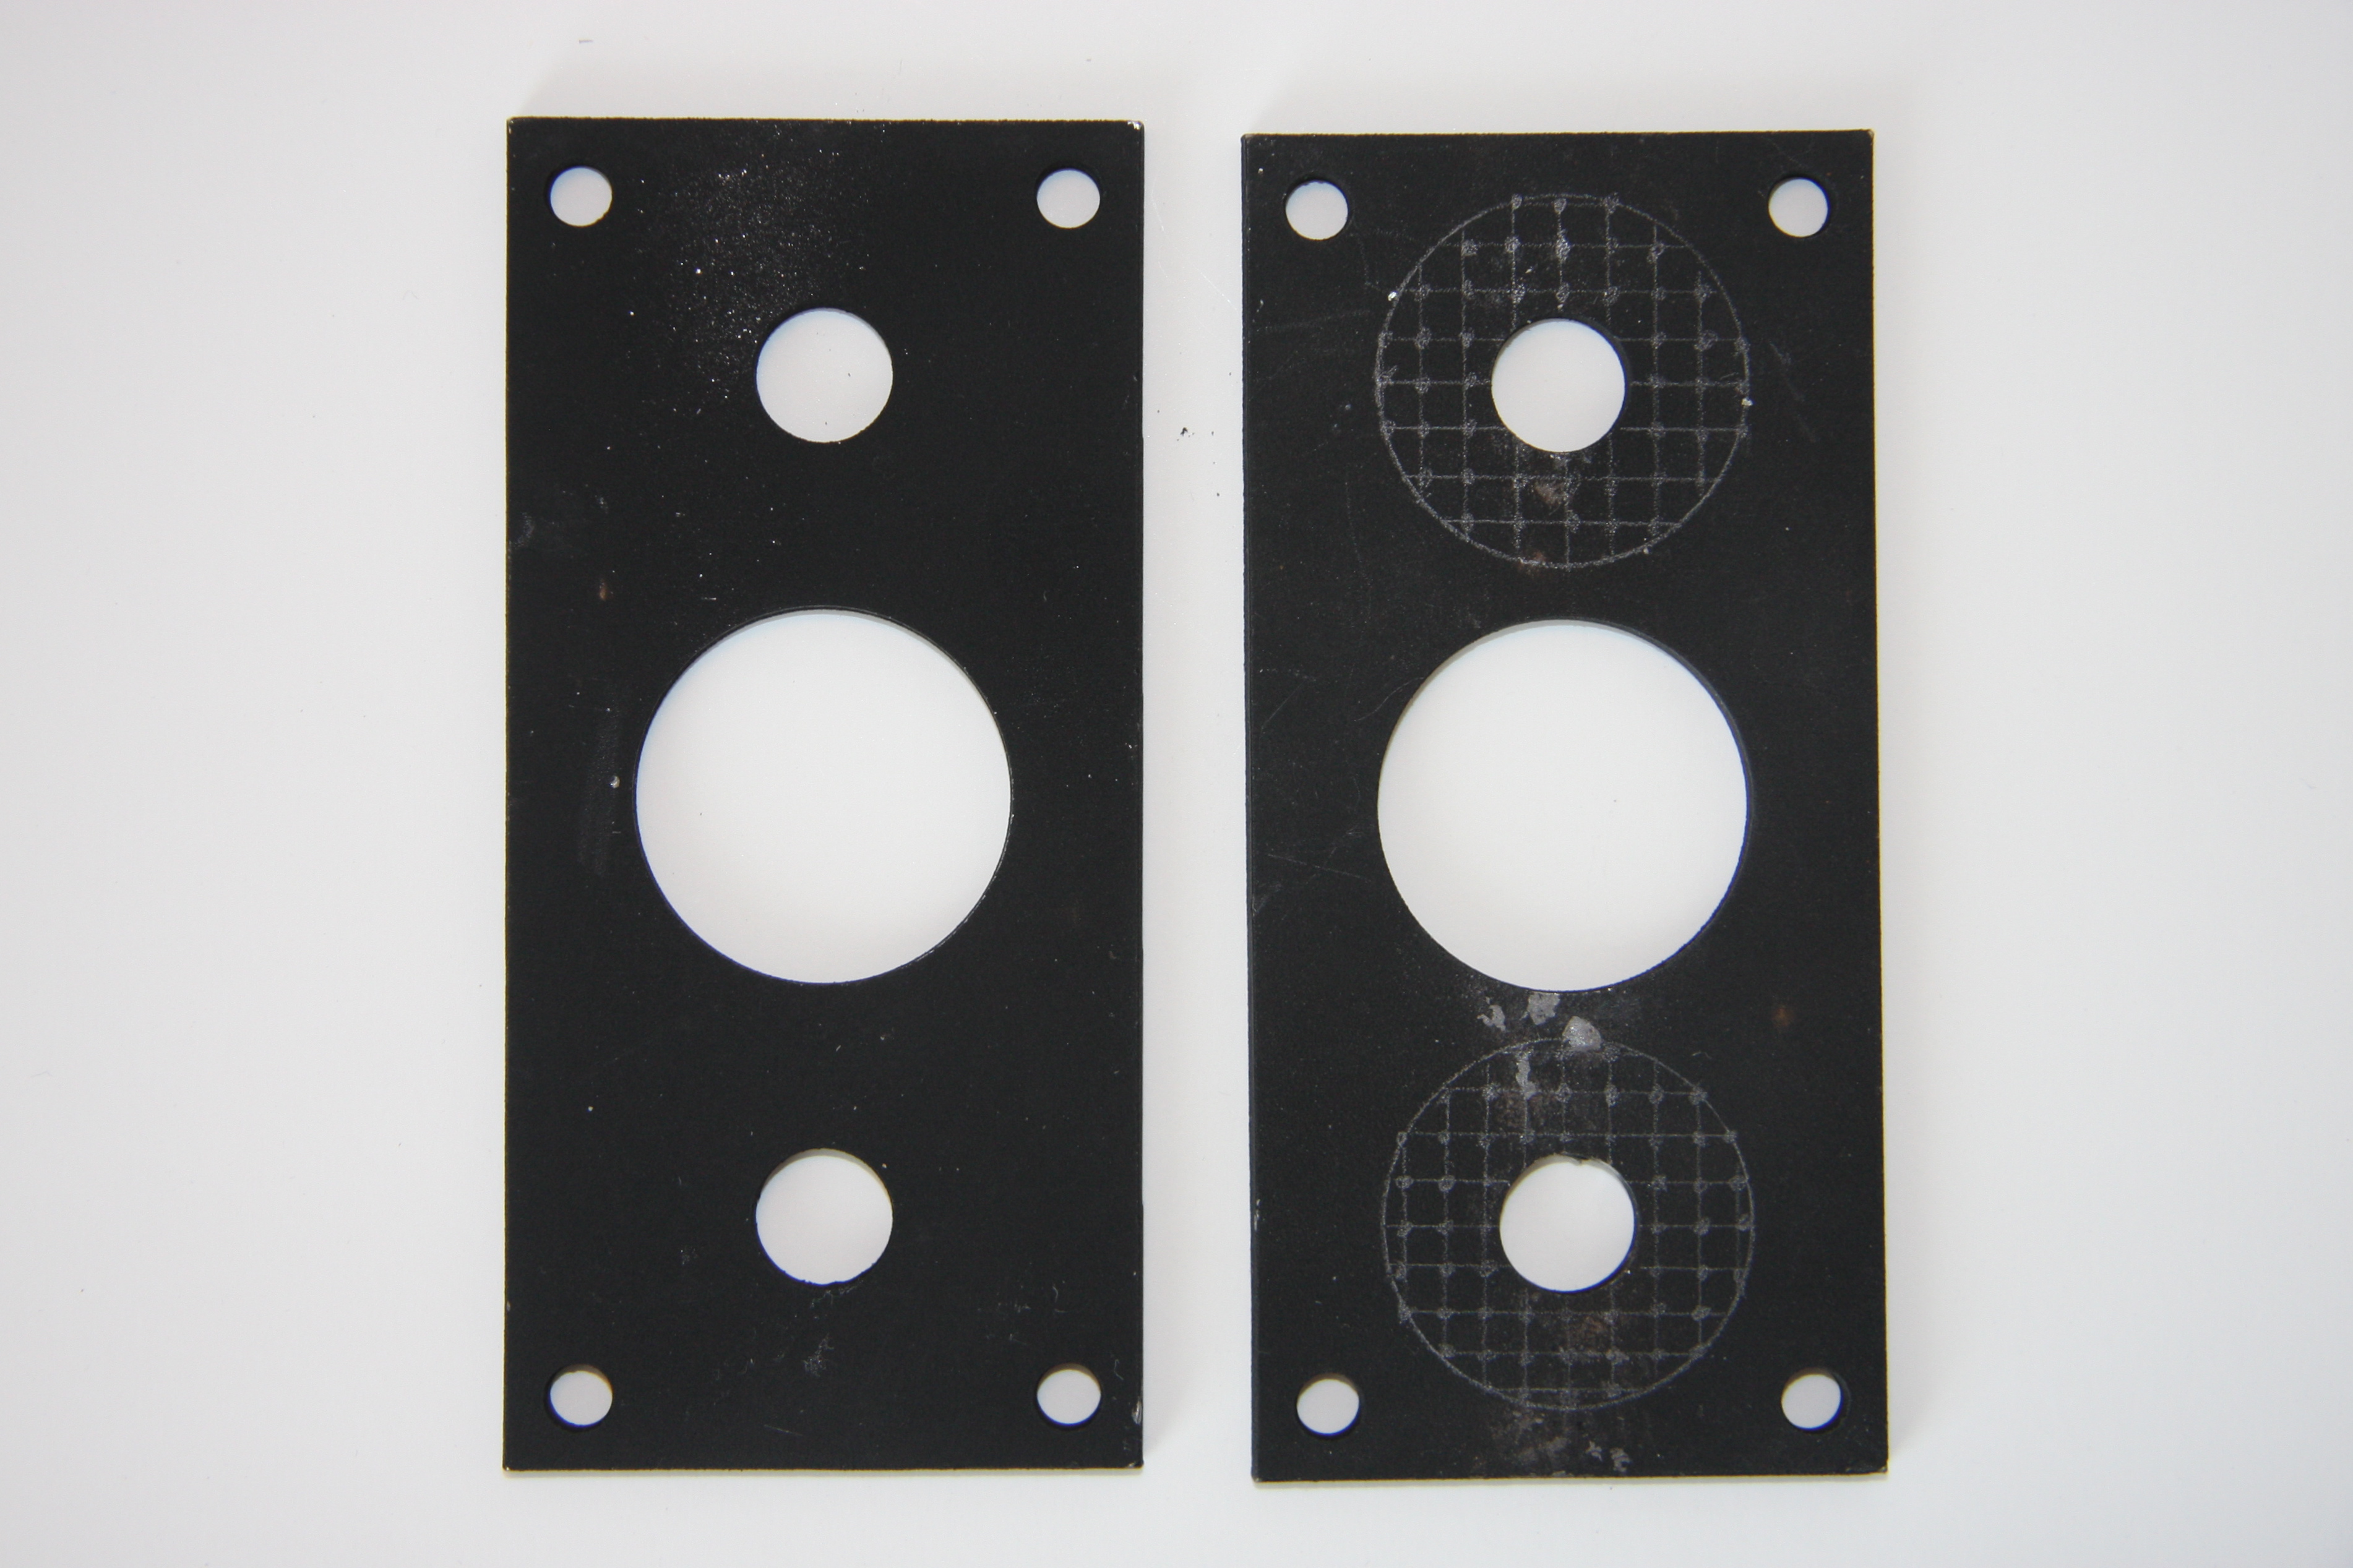
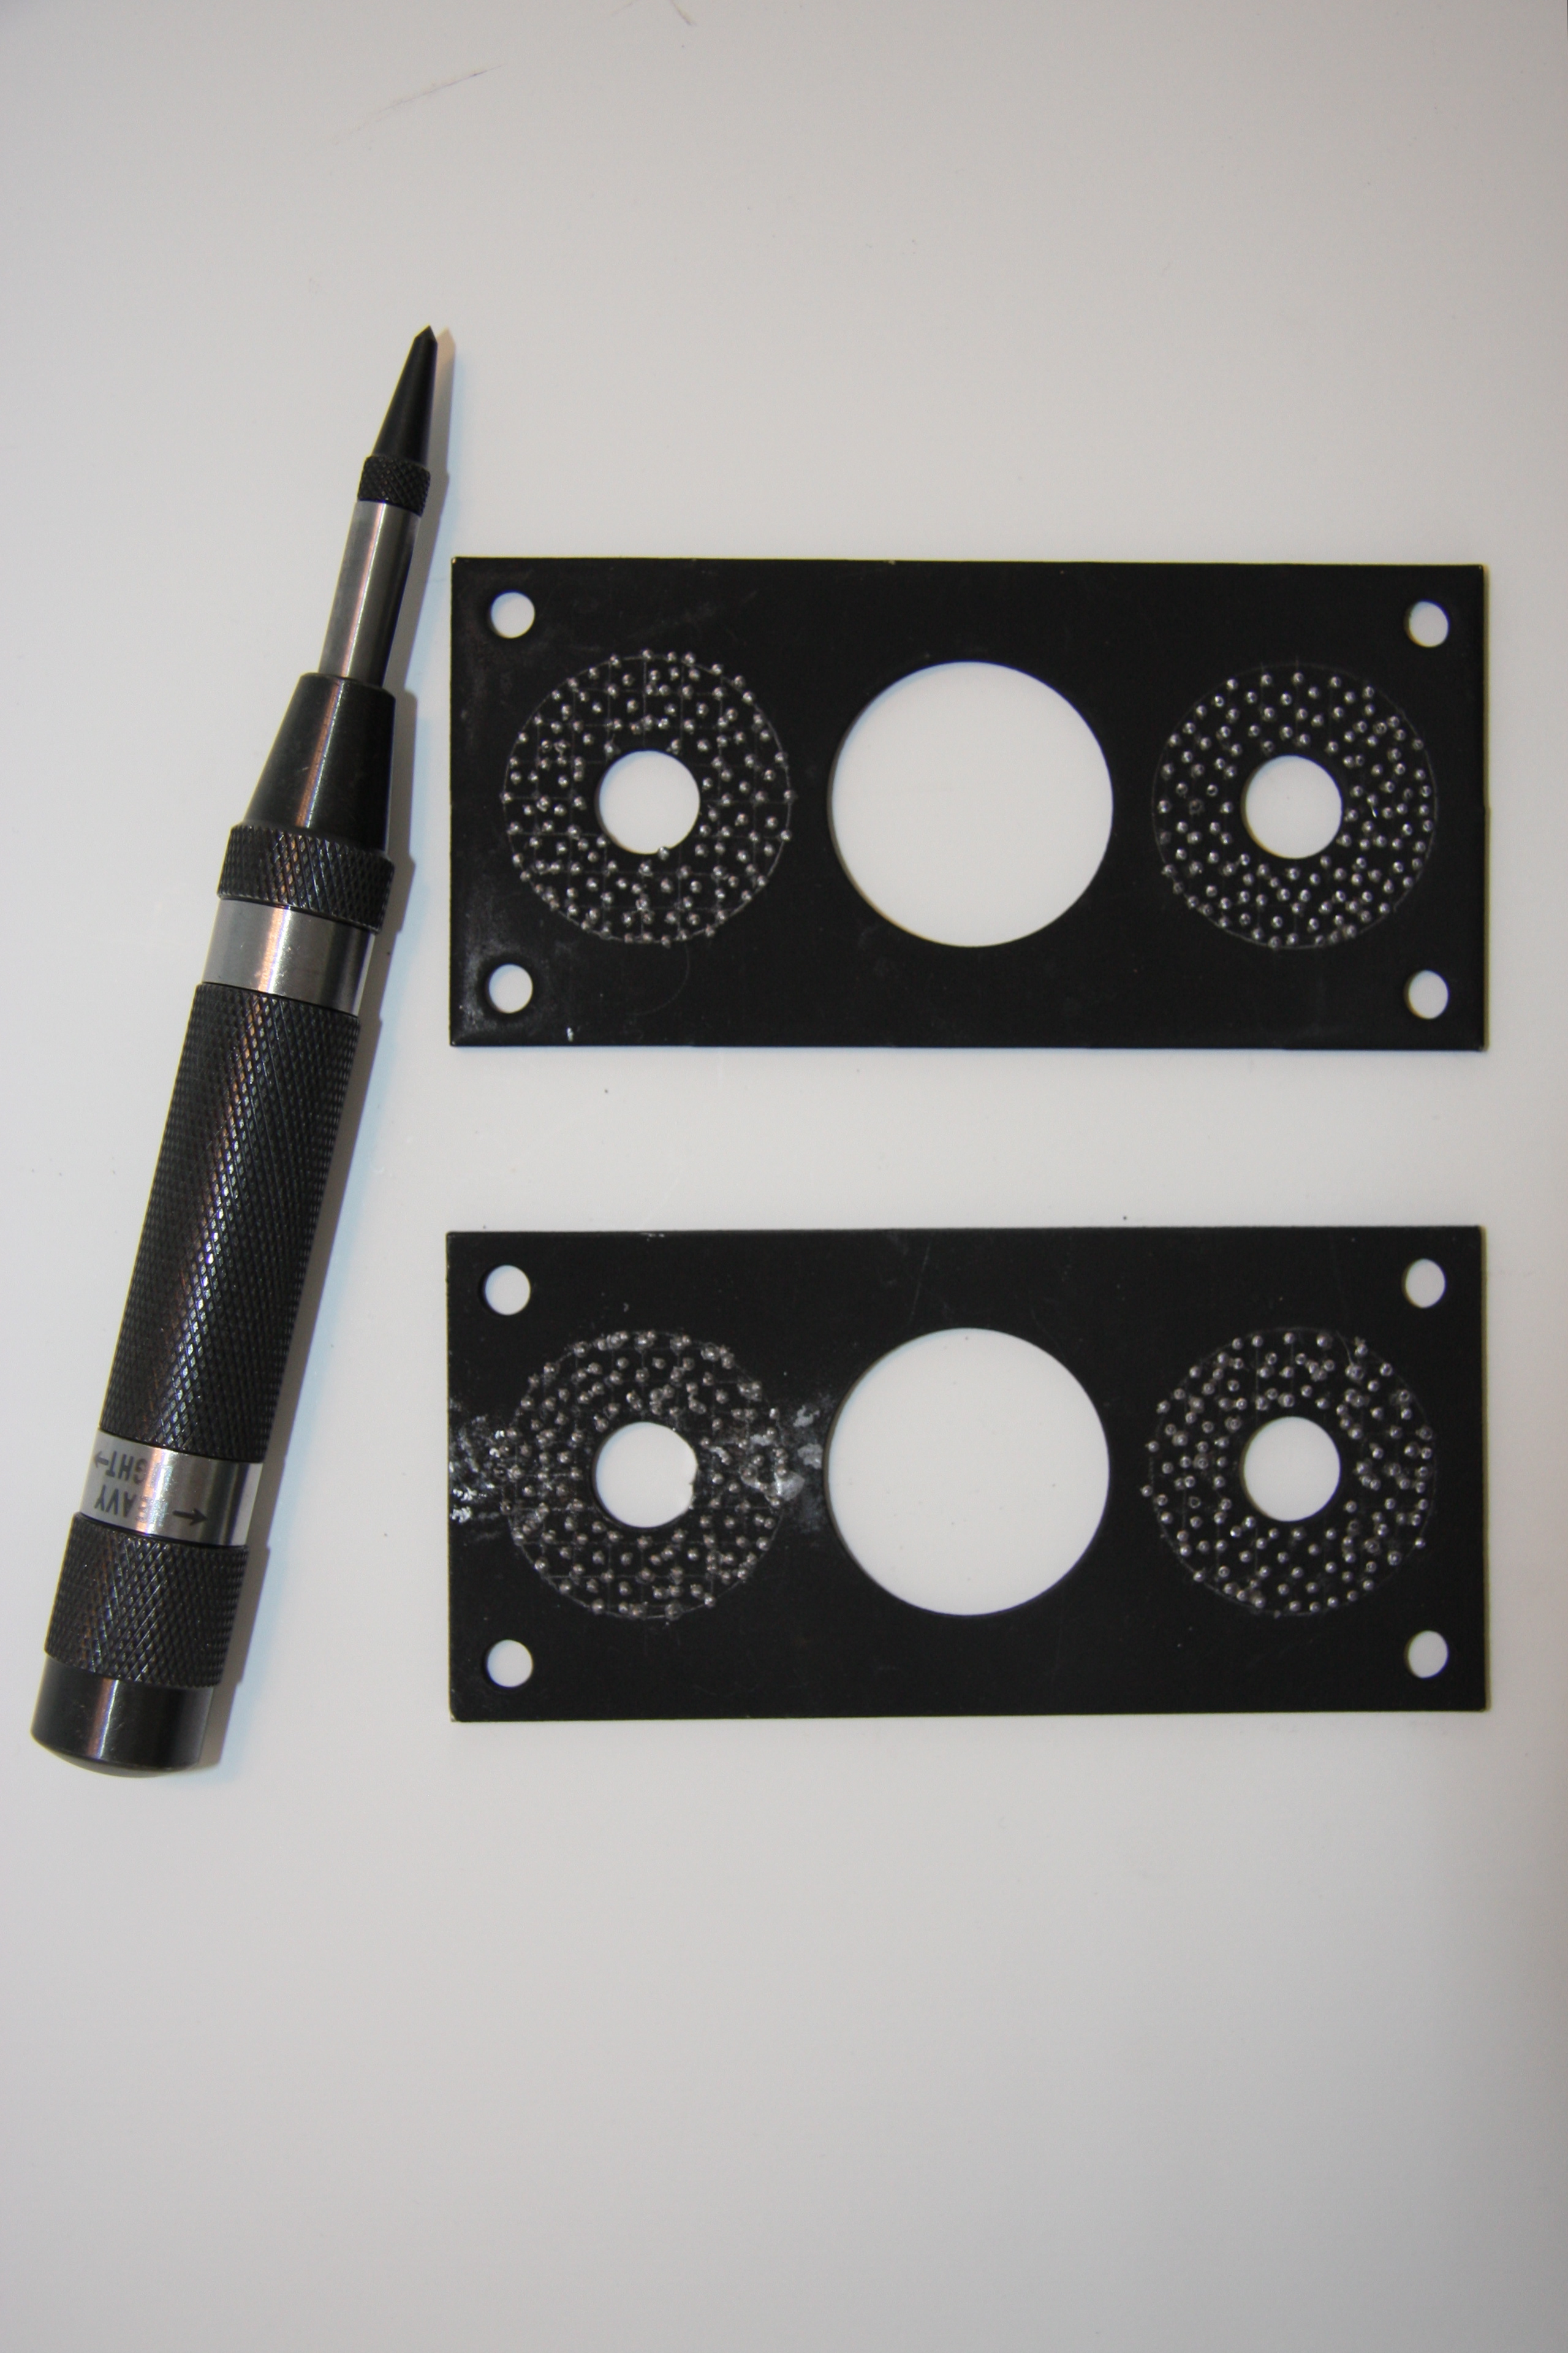
The reproduction rumble seat hinge spaces are the correct shape. However, they are missing the dimple marks that help to secure the rumble seat hinge to the lower inner trunk triangular rumble seat bracket. In order to recreate the dimpled effect I drew a circular grid and then punched it with a spring loaded center punch.
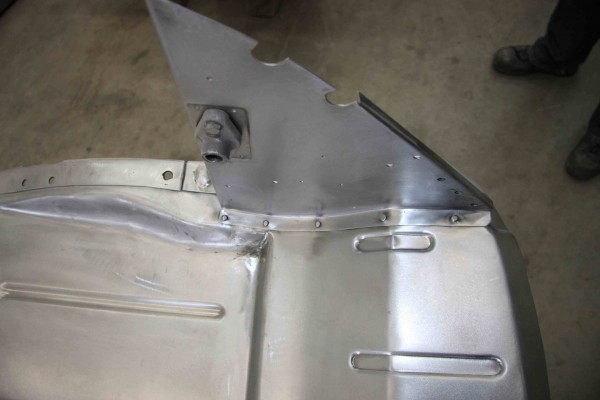
These spacers are actually riveted to the inner trunk triangular rumble brackets and the serrated spacers help grip the hinge. The back side of the hinges are also serrated to meet the serrations created on the spacers.

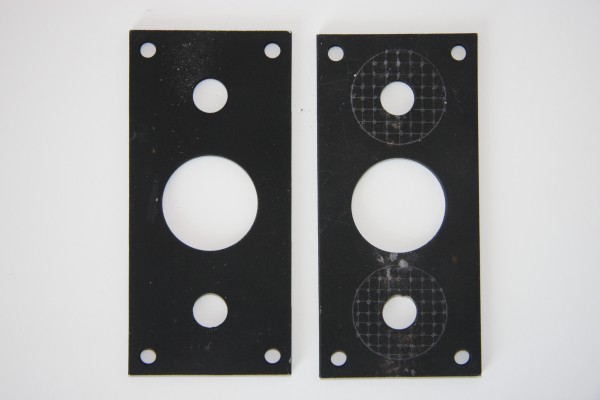
And the completed dimpled spacers. I’m slightly perplexed as to what purpose this has because the hinge is bolted to the inner trunk triangular brackets with lock washers and nuts.
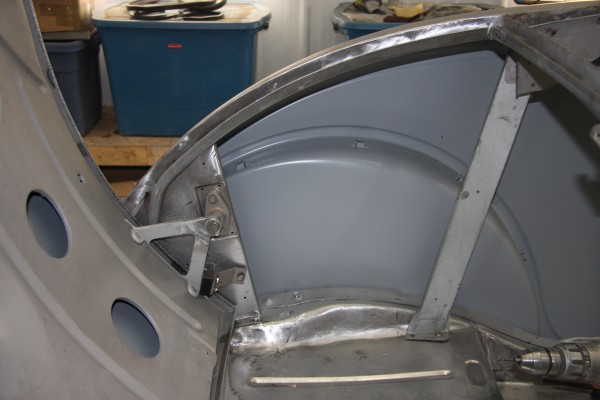
Here is a better photo of the rumble seat bracket. You can see where the rectangular hinge spacer will sit.
This is a better photo of an original roadster with the spacer in place and you can actually see the dimples on the spacer.
{ }
by Steve
on June 15, 2013

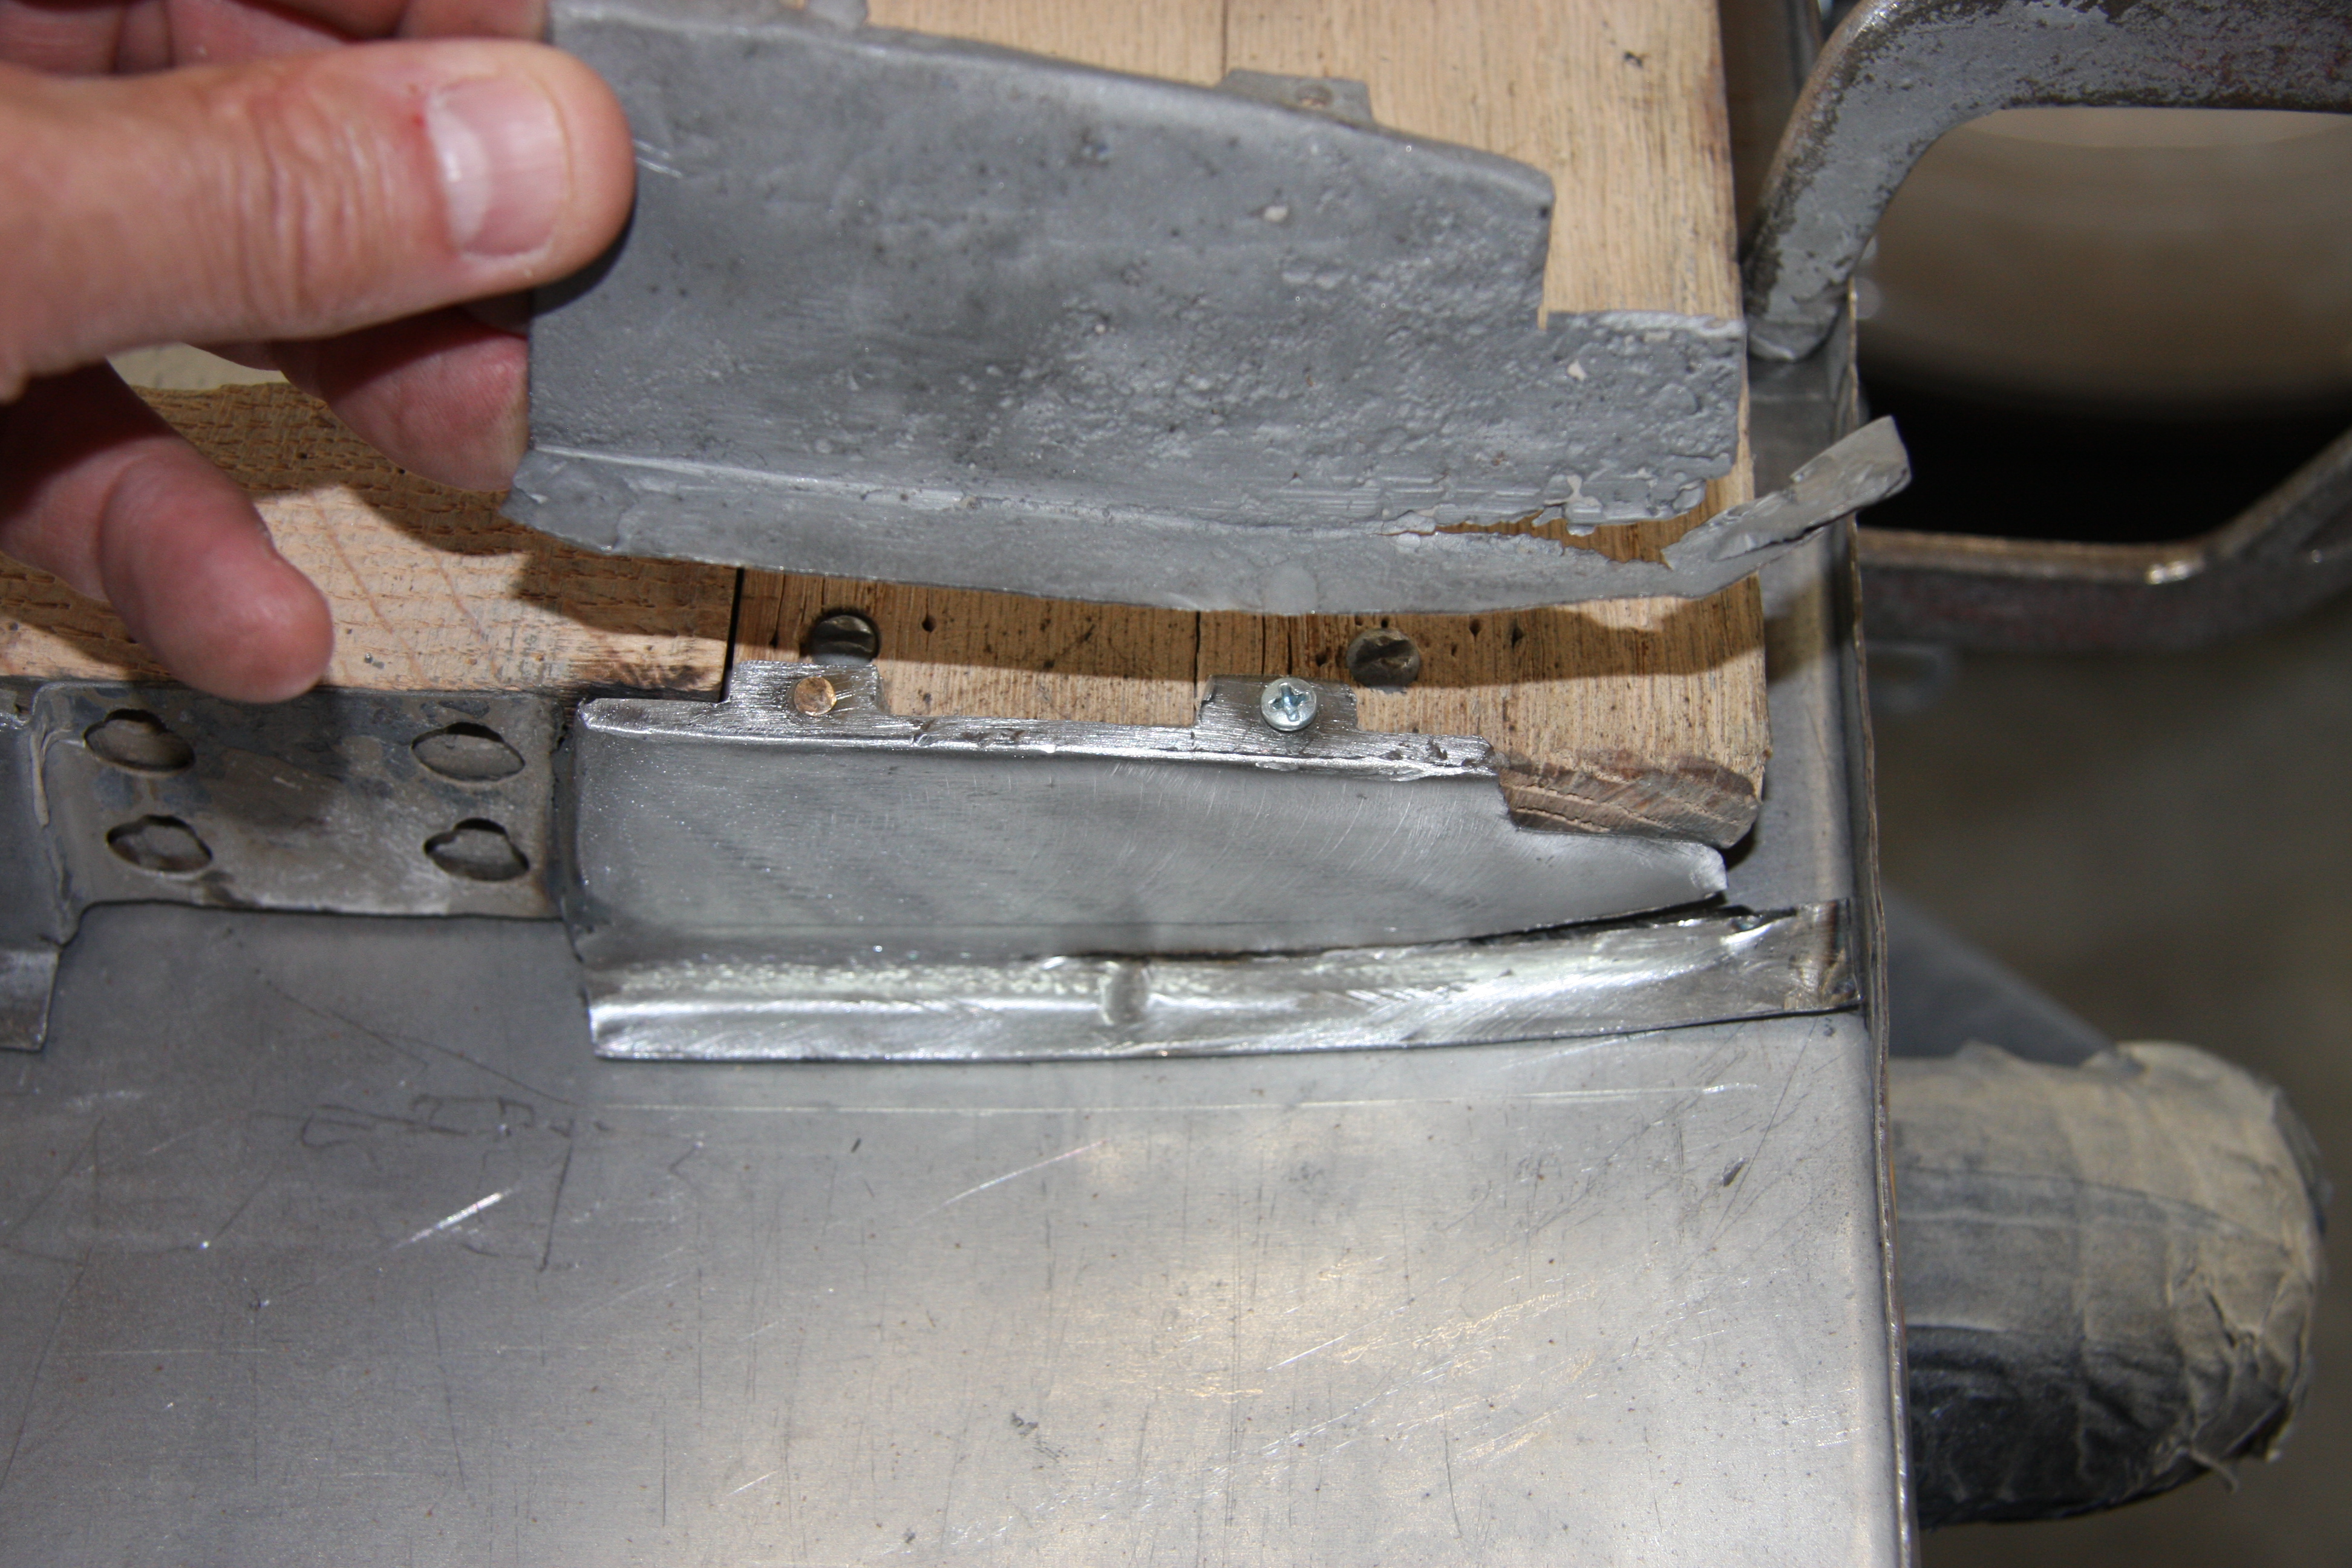
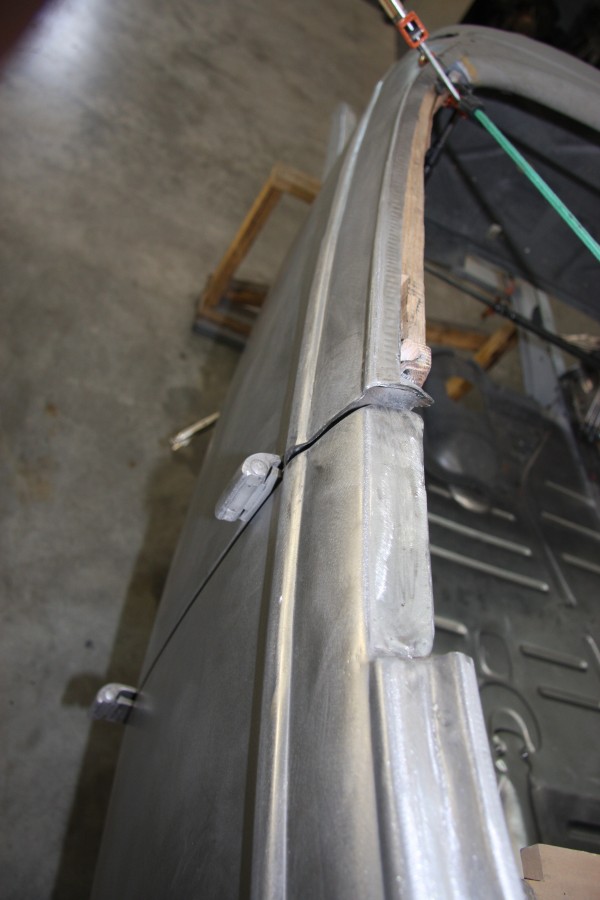
The drivers side door skin is starting to take shape. We did have a problem with the bead along the top of the door – it was too wide and didn’t match the bead profile on the rear quarter panel. Both panels came from Steve’s Auto Restorations www.realsteel.com however I did notice they no longer sell the full door skins and rear quarter panels. Please don’t get me wrong, I’m not complaining I’m happy there are businesses out there that reproduce these parts it just takes a little extra time to correct their deficiencies. 🙂
The bead had to be cut length-wise and reshaped and if you look at the inside top of the door you can see some of the corrective bead metal work. It’s funny, Ed Solaris was looking at my door pictures and he notice the diagonal metal strip is actually upside down. The bump in the metal strip should face the wood and there should be a notch in the wood to match its profile.
The lower half of the door still needs some additional attention which will be completed in the next few days.

The door bead now matches the upper cowl. However, above the door bead they still need to reshape the upper portion of the door.
The back of the driver’s door is now complete and the door seam is consistent and straight.
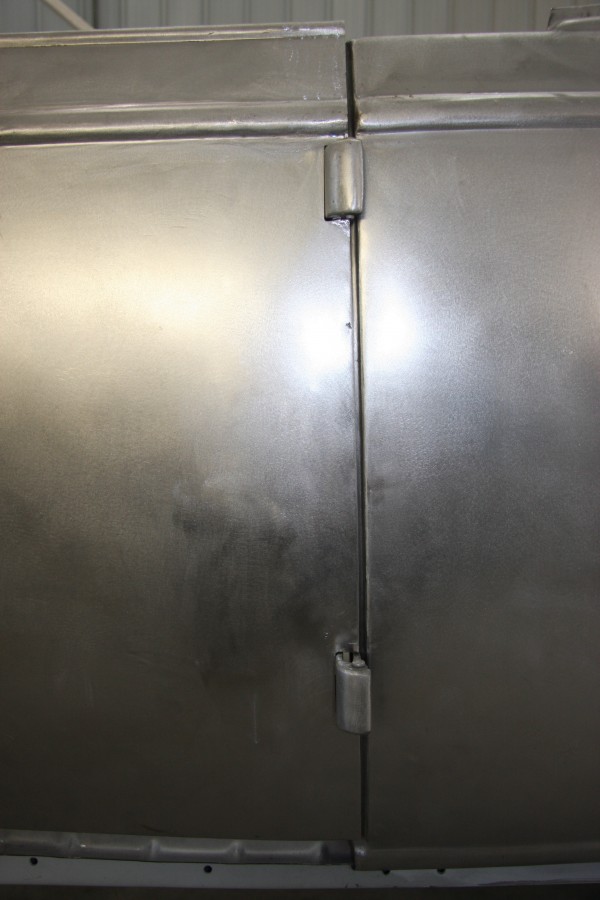
The door seam between the door and rear quarter has a nice consistent gap from top to bottom.
The inside back of the driver’s door is also complete and note my new/old replacement B-Pillar bracket is installed and it fit like a fine leather glove!

They had to re-fabricate this piece on the lower back of the door.
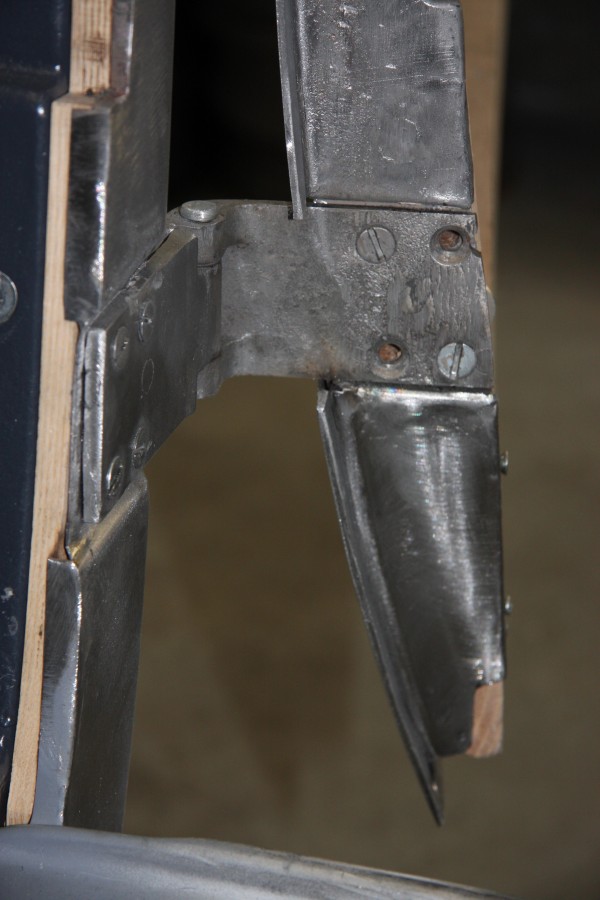
Just like new!
With the replacement door skin they gave you more metal in some areas and not enough at the bottom of the door, go figure? The reference photos that I and Ed Solari’s have collected over the years come in very handy, thanks for sharing Ed. Ignore the leather door check strap it is incorrect I will install the correct parts shortly and show you what it should look like.
{ }
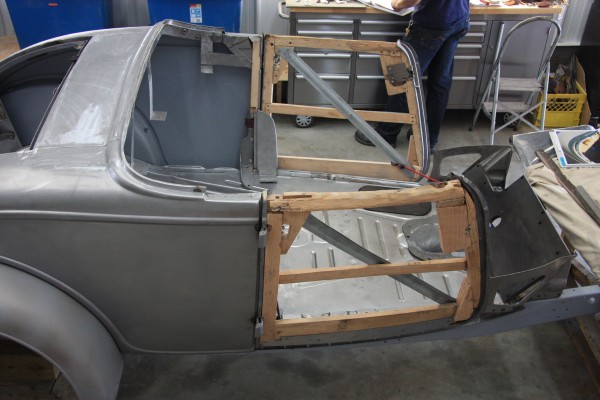
It’s exhilarating to watch the body slowly come back together, one piece at a time, and the mounting of the doors just brings us into another phase of the restoration.
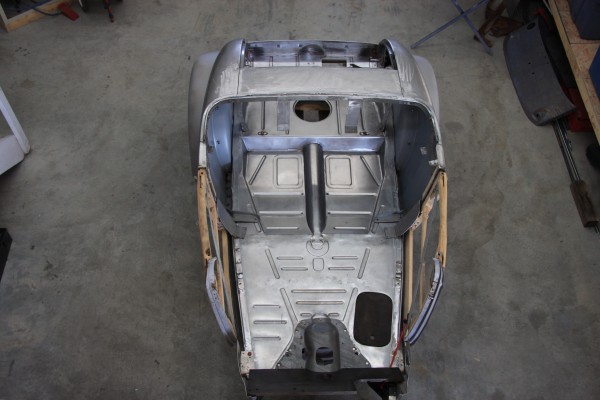
Its starting to look like a roadster!


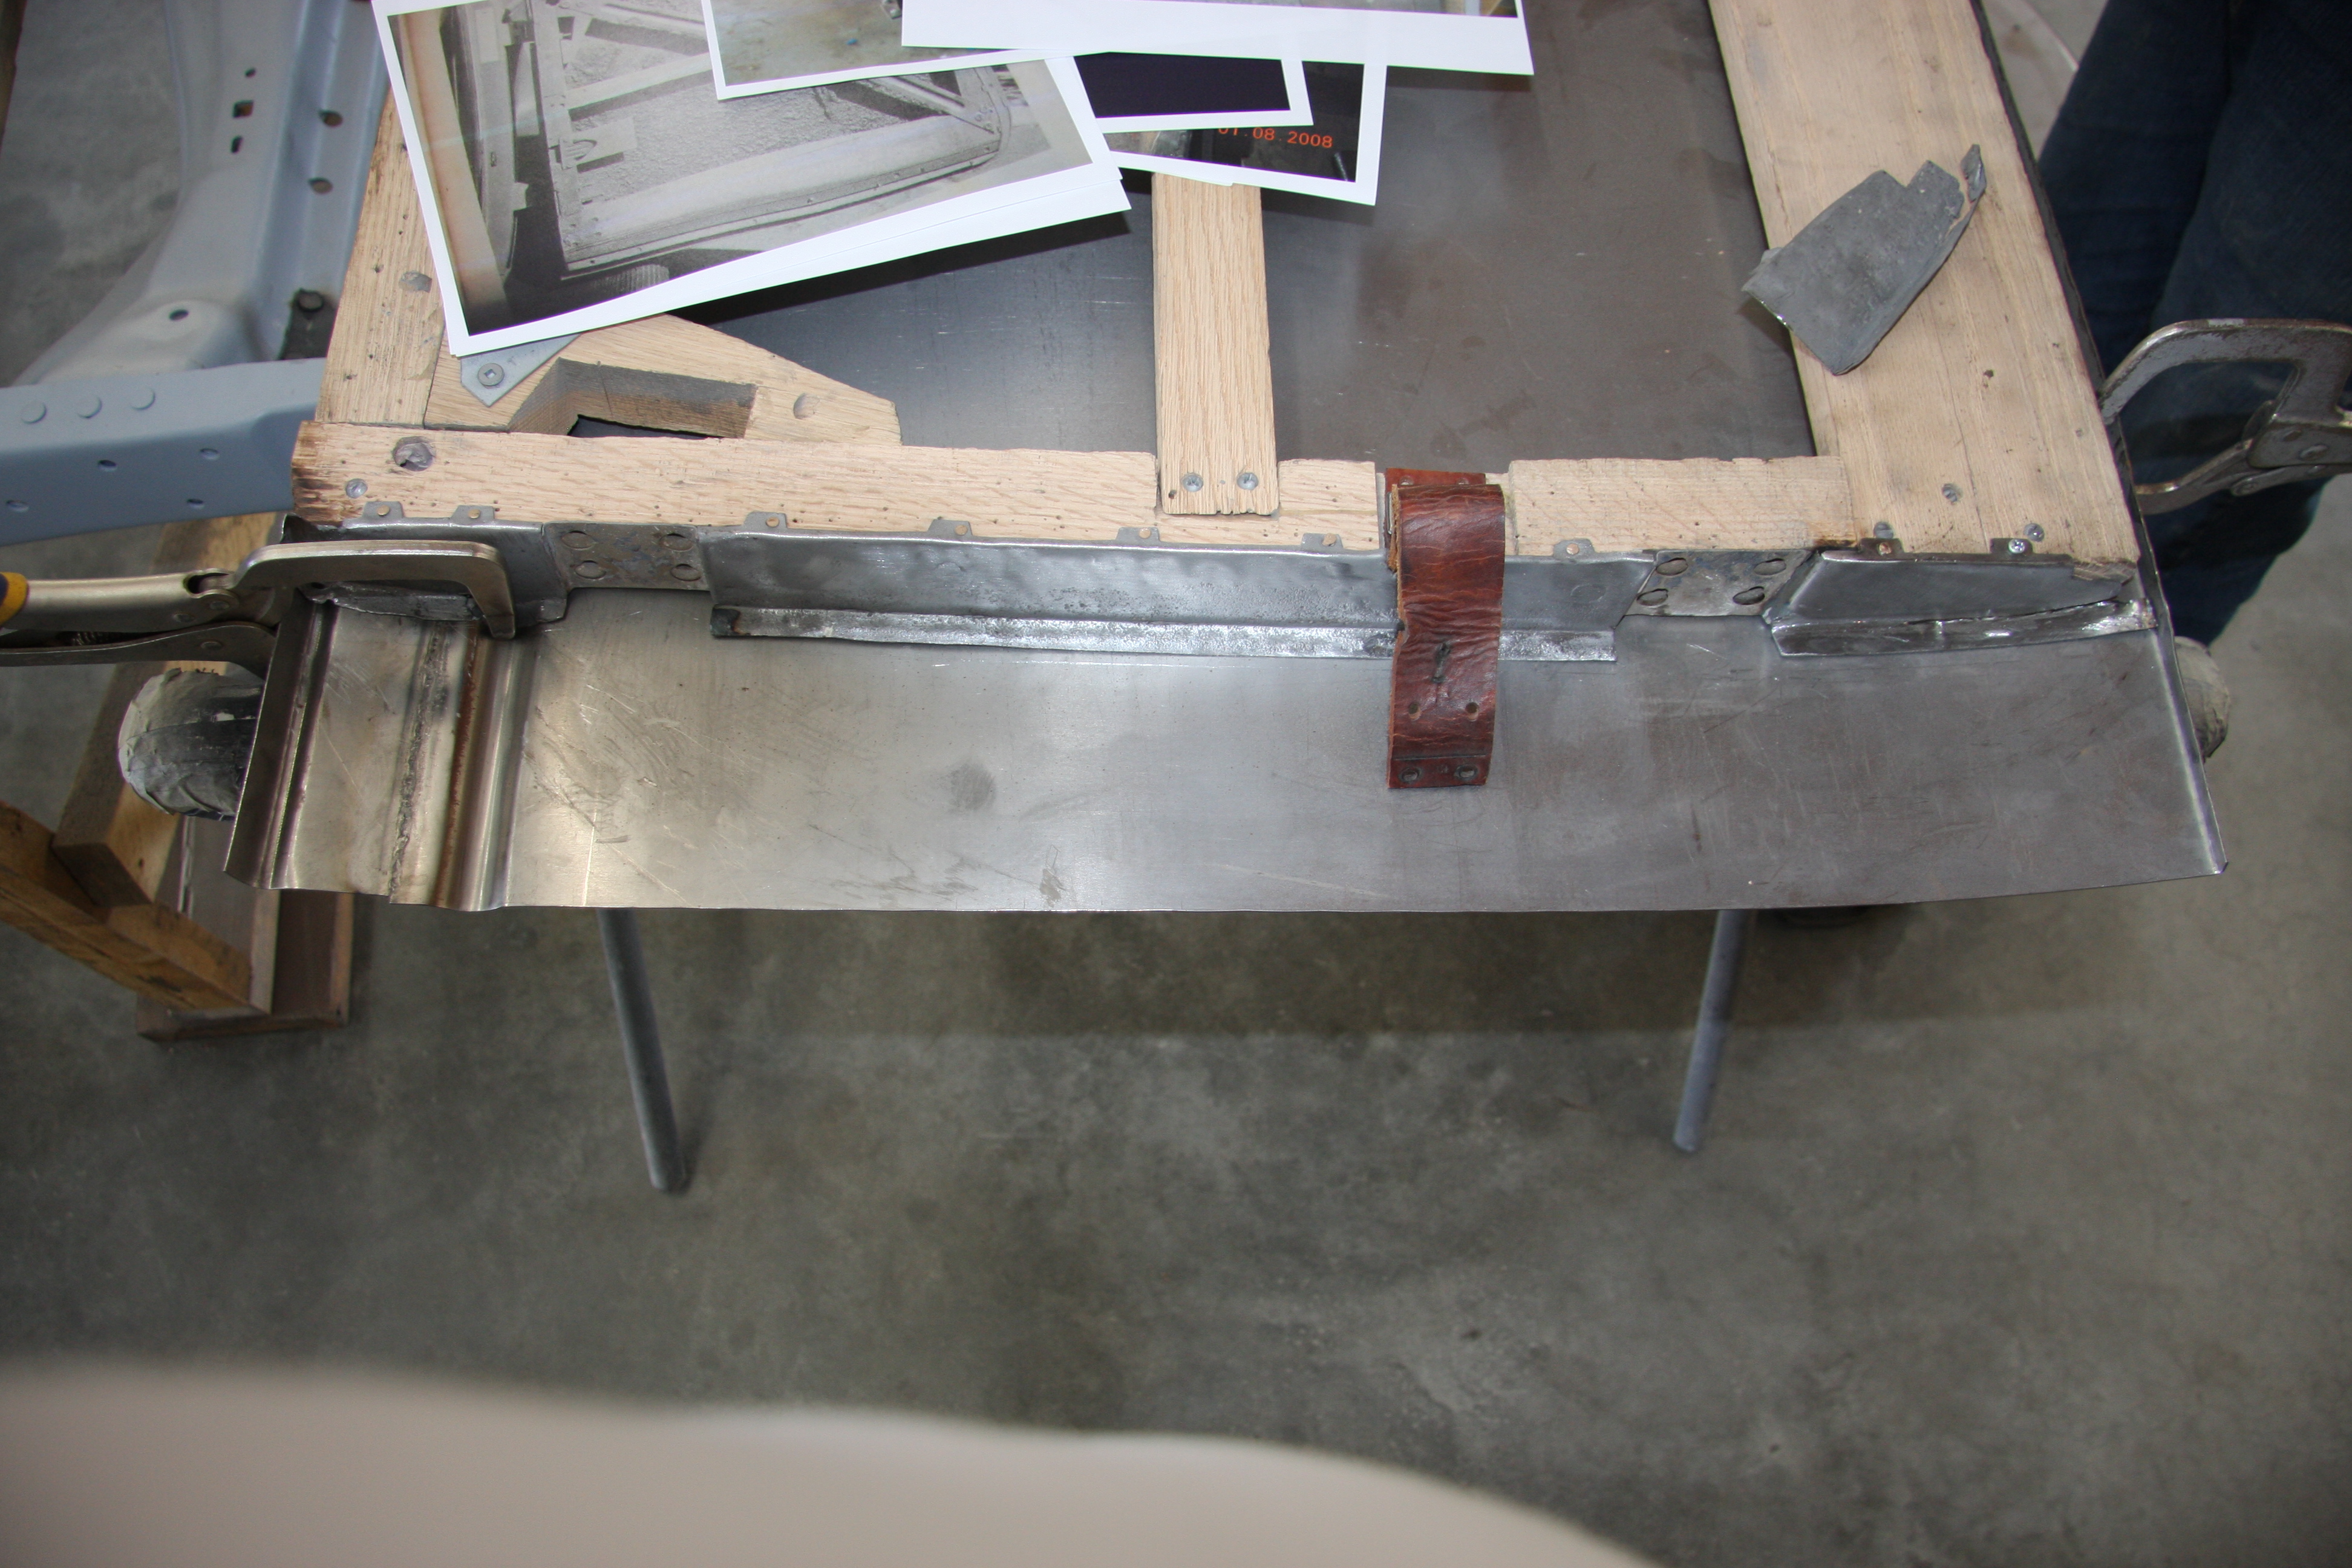
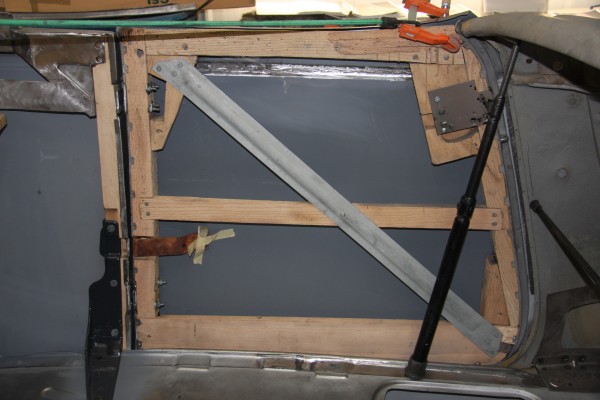
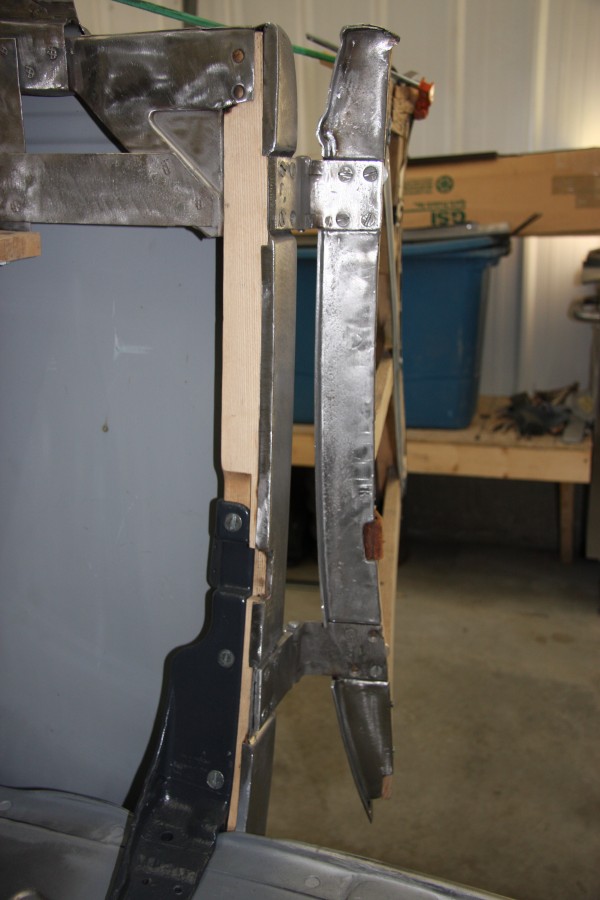
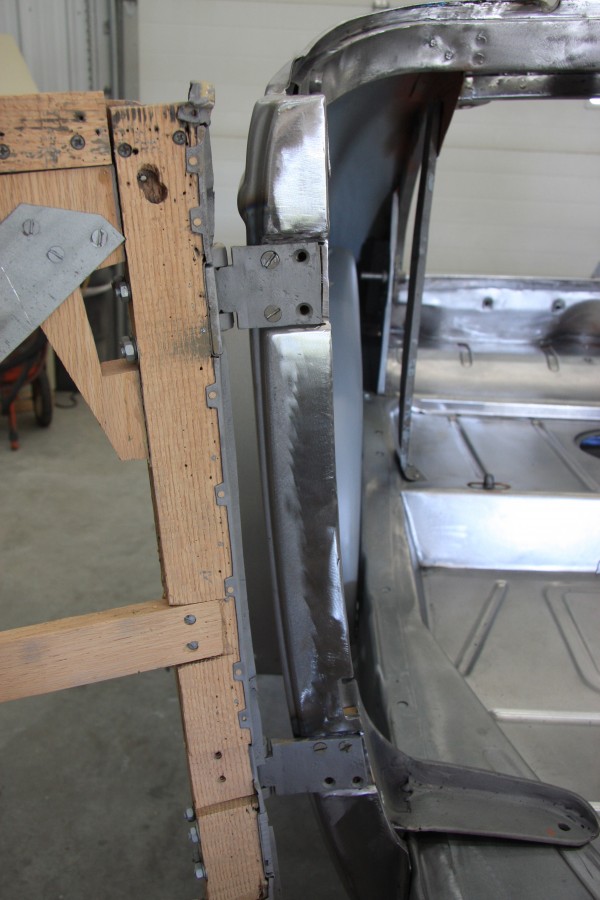
The wooden door frames are installed and the doors will be re-skinned. We decided to re-skin the doors because once the original door skins were stripped there was quit a bit of bondo. Previous poor repairs to the doors and re-skinning is just more cost effective. Plus the doors will be perfectly straight!
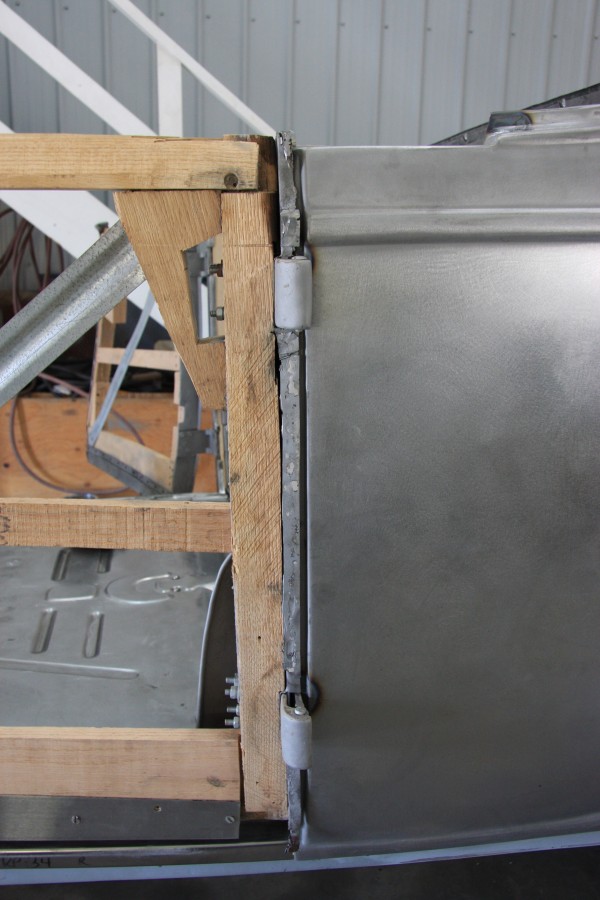
The door wood was not in too bad of shape and the lower door wood had been replaced in its previous restoration where the door skin anchor strip is screwed to the wood.
I’ve ordered the correct hinge bolt and nut kit from Roy Nacewicz hopefully I will see them shortly.

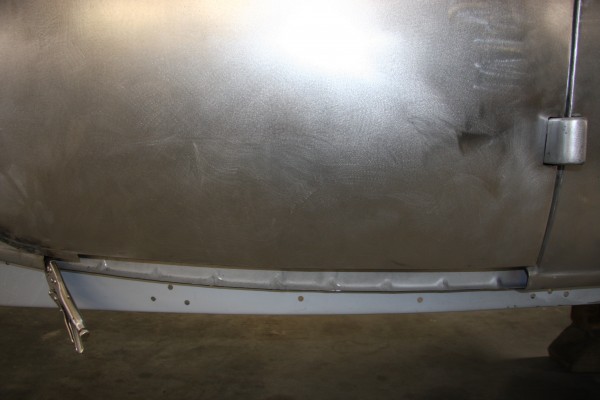
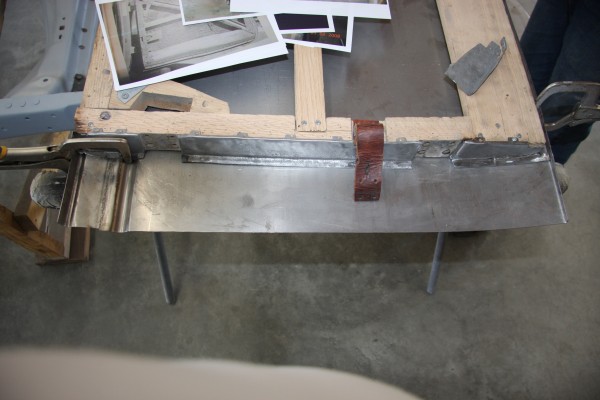
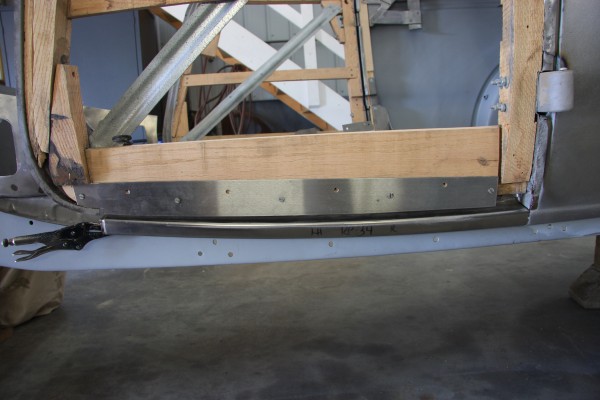
The lower door skin steel anchor strip is installed on the passenger side bottom of the door. The new door skins will be crimped over the anchor strips. There was very little left of the original anchor strips and they had that Swiss cheese look. I was dumb founded as to why during its previous restoration they would have used the old rusted door skin anchor strips these are not that difficult to reproduce!
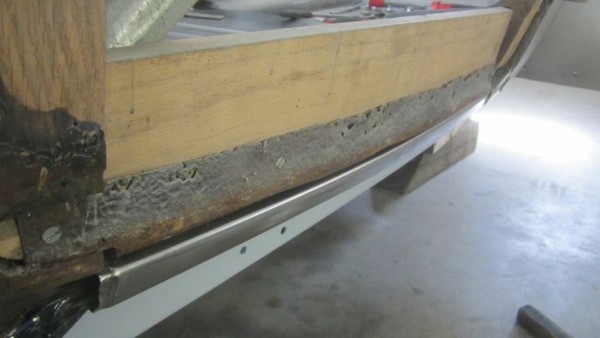
As I said looks like Swiss Cheese and this was the better side.
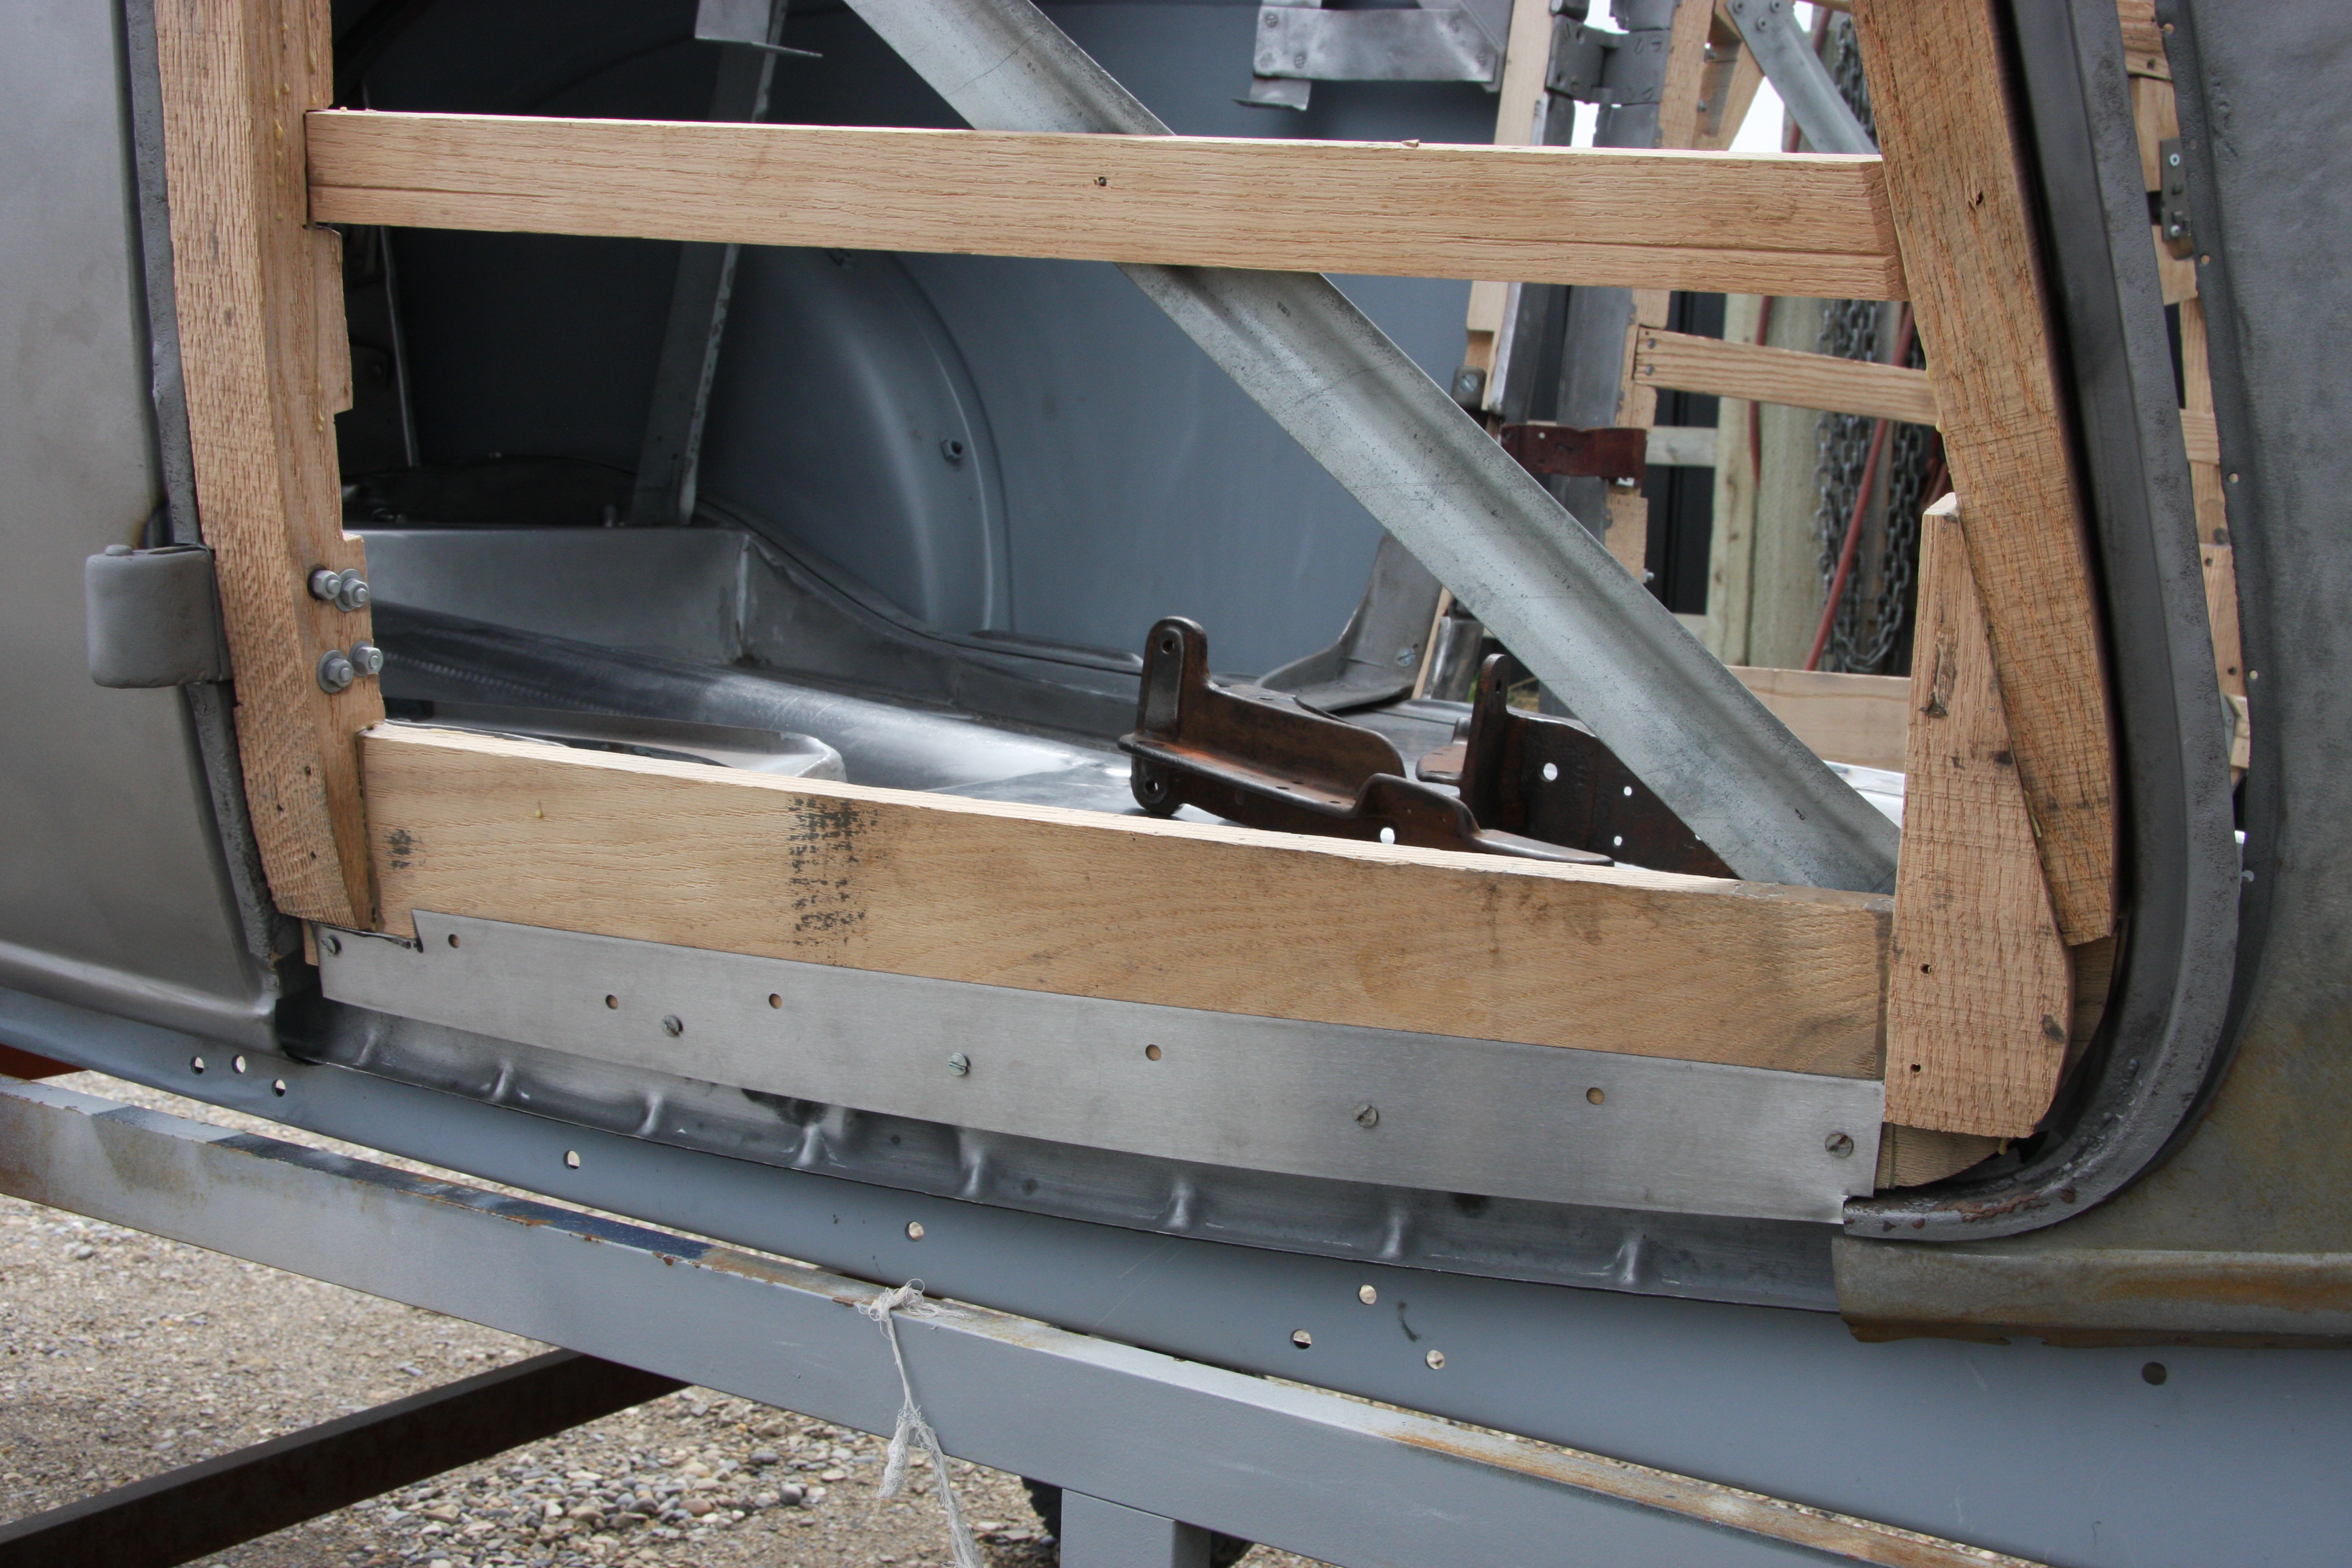
The lower door skin anchor strip is installed on the driver’s side bottom door with the rocker panel temporarily installed below the anchor strip. Stay tuned, the door skins will be installed over the next few weeks.
{ }