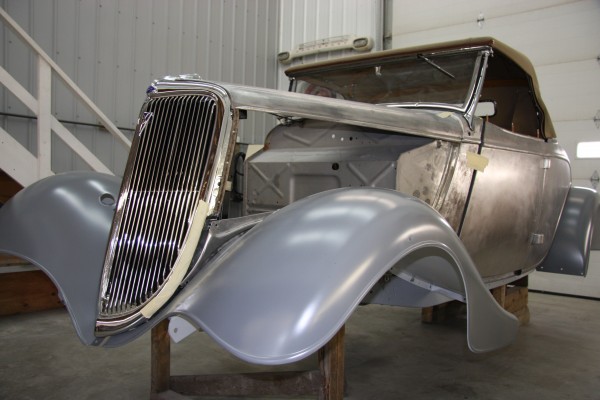
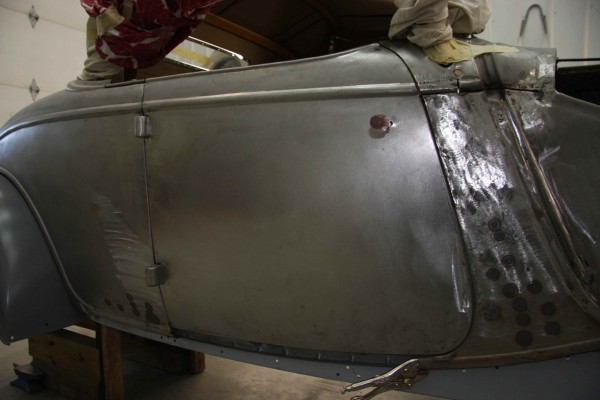
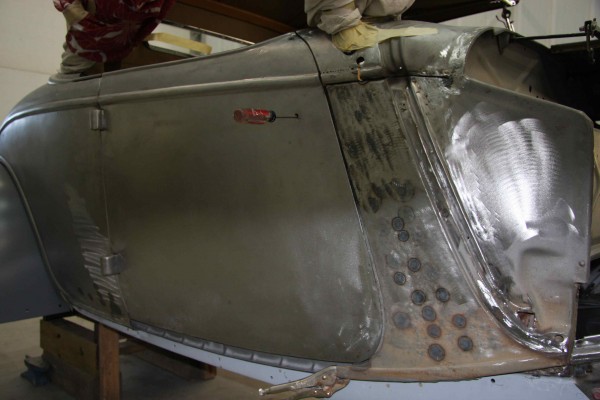
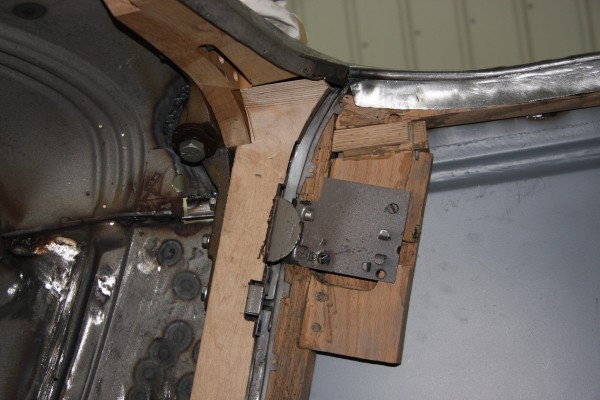
Over the past few days they have been working on the fit of the passenger side door. In fitting the roadster doors they need to check how each panel and part fits next to one another. The doors should open and close without interference and also sit squarely in the door opening. The guys at Alternative Restoration made sure that all the gaps and seams between the panels were uniform and the passenger door now opens and closes smoothly. They started with the passenger side because it was the worst of both doors and needed the most modifications to the cowl and upper front section of the suicide door. What I really love about this photo is the improvised outside door handle!

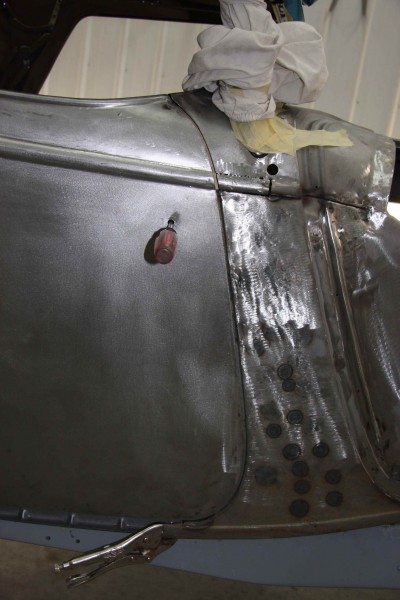
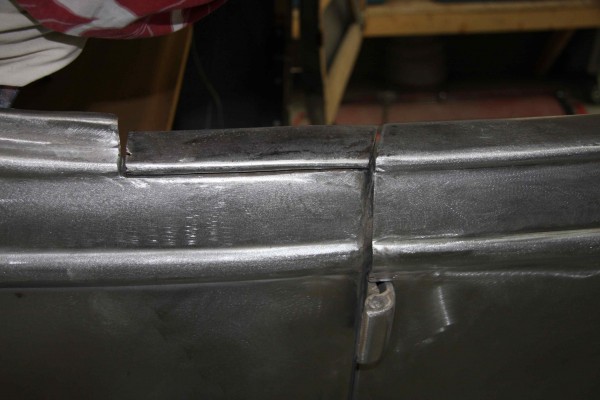
They found previous collision damage where the top of the cowl fastens to the lower cowl. Repairs were made right at the cowl belt moulding seam and the door and cowl belt seam now line up perfectly.

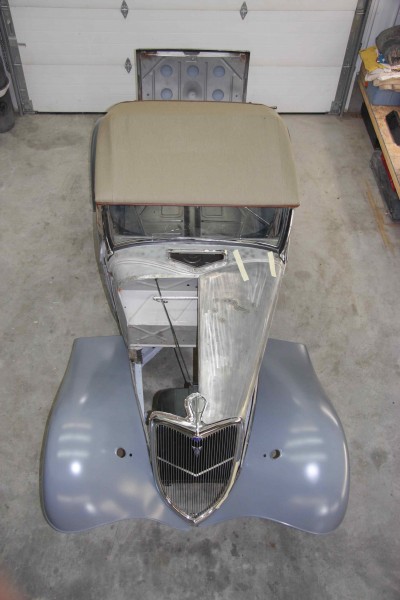
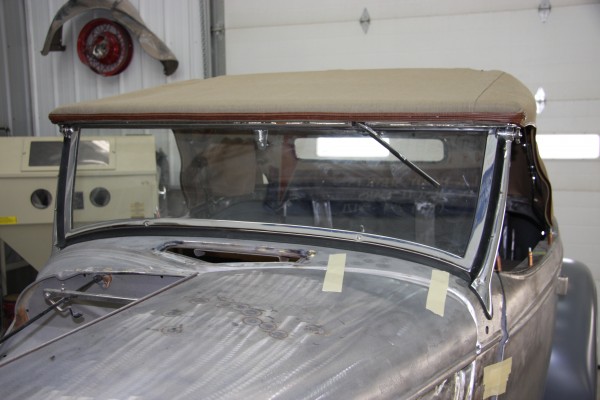
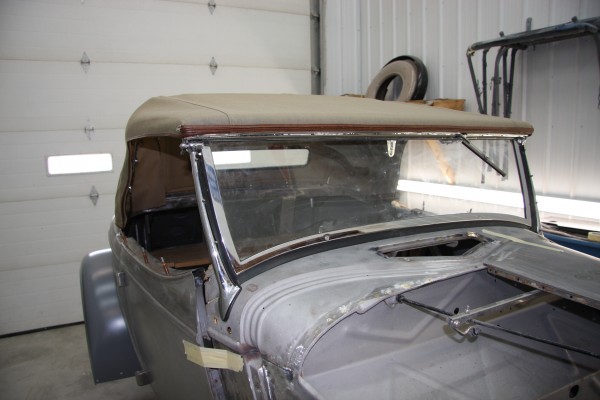
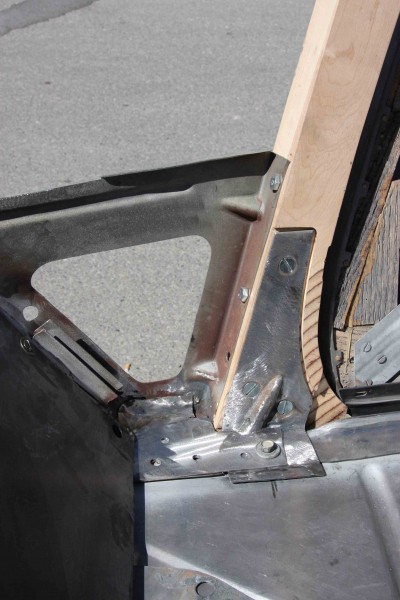
Where the top of the cowl meets the door we now have the correct fit and contour. We still need to rebuild the inside edge detail on the cowl.
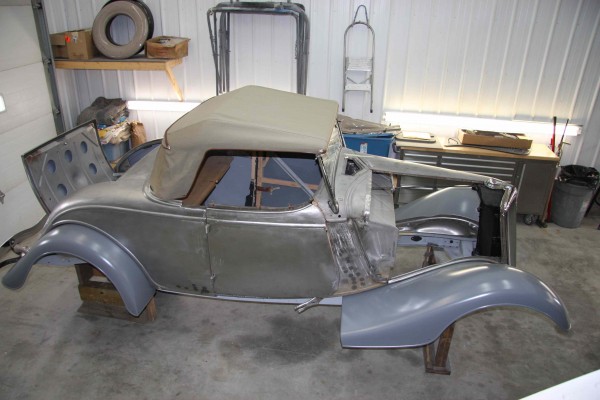
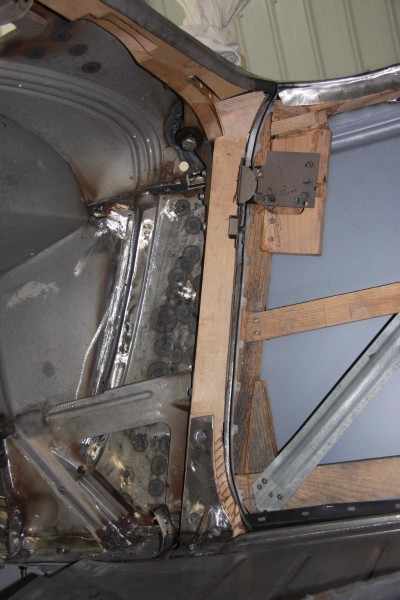
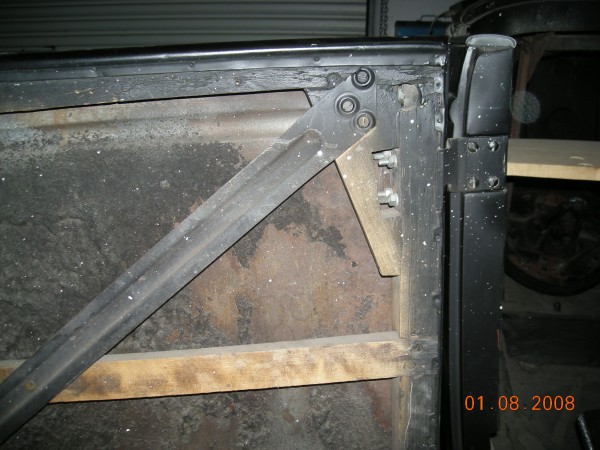
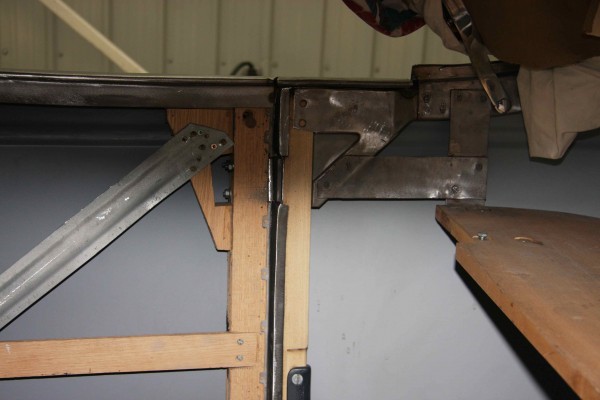
From the inside the wood and metal is now fitting nice and snug.
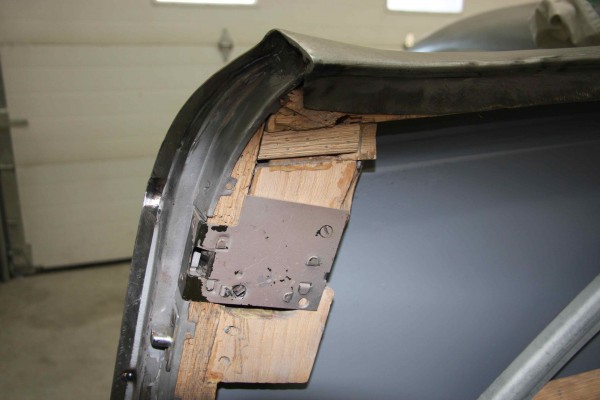
We still need to finish the metal work around the cowl A-pillar L bracket.
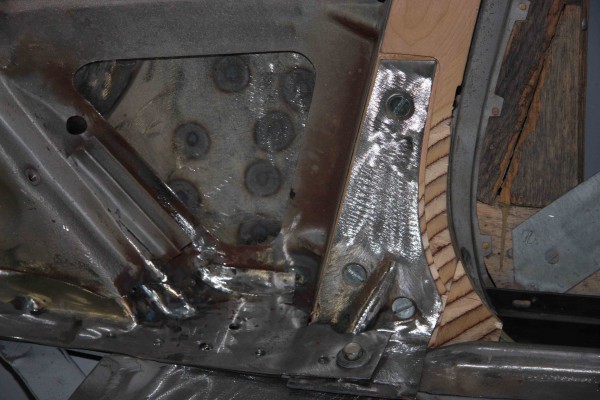
The door now fits beautifully and latches tightly, which it didn’t in it’s previous incarnation.
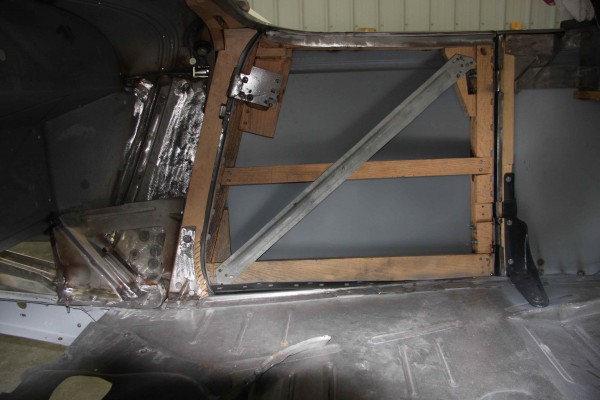
The diagonal metal inside door strip is actually upside down and needs to be flipped over.
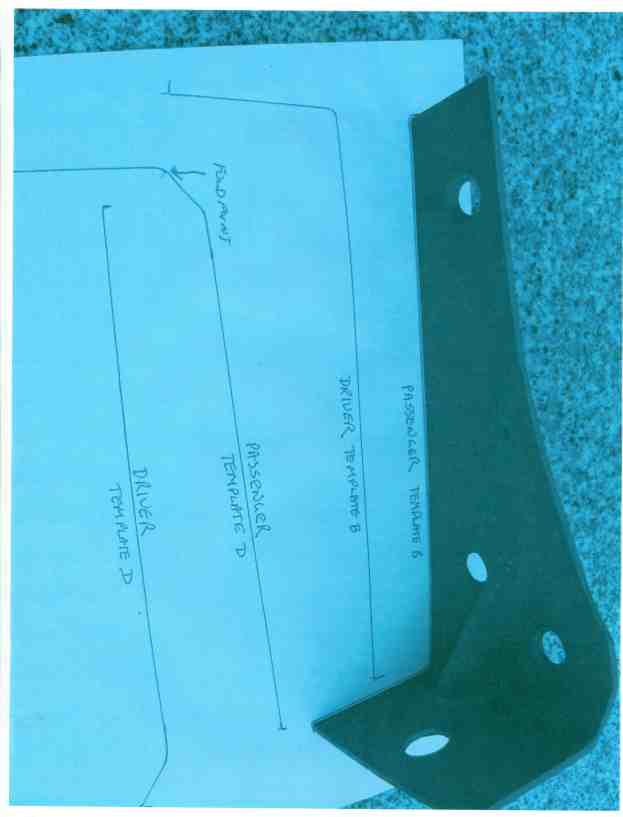
In this archival photo you will note the diagonal metal inside door strip is correctly installed.
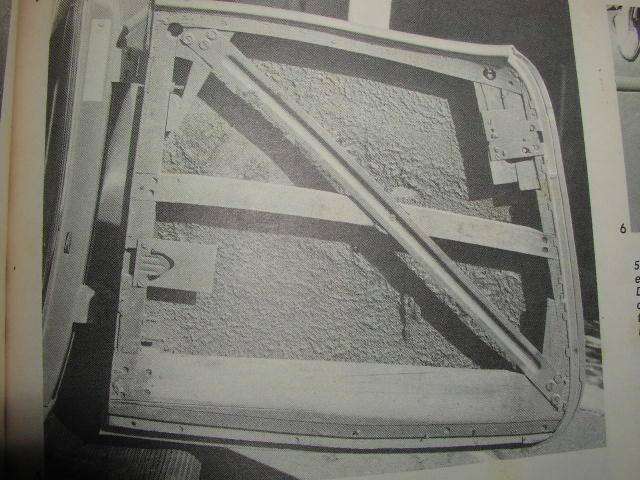
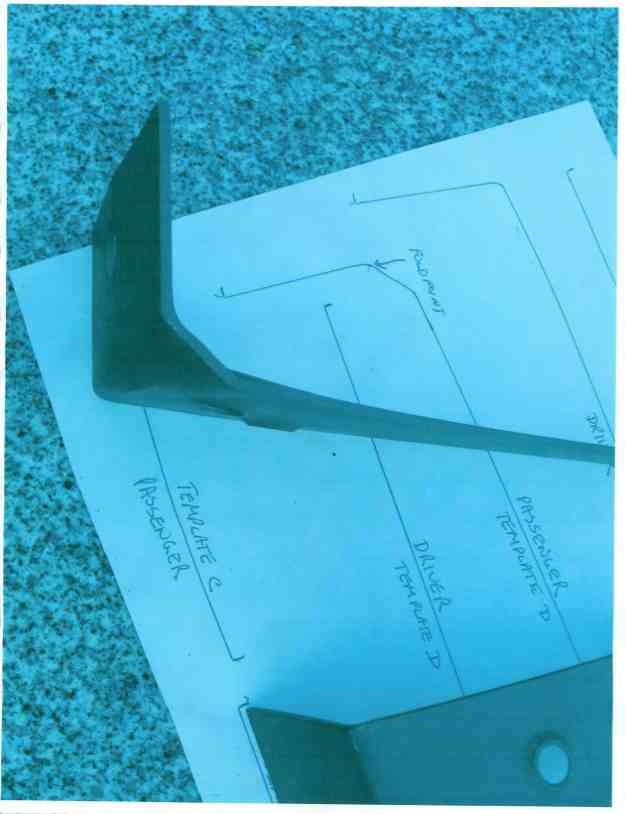
This archival photo shows the entire length of the diagonal metal inside door strip.
There is a little too much metal at the top side back of the door and this will need to be cutaway or I won’t have wood exposed to tack the inside door panel across the top of the door.
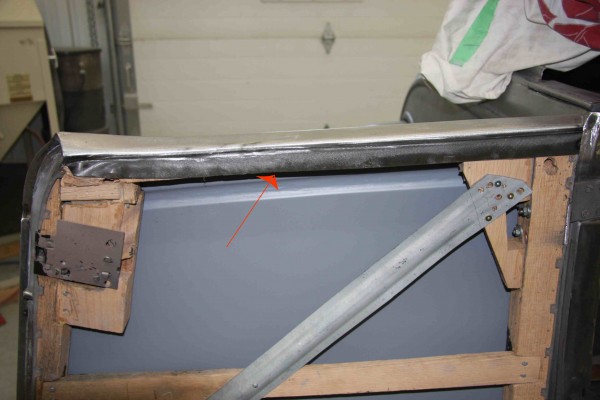
The top cap behind the door is now snapped in place.
Again the backside door detail. Everything is square and straight. The metal edge down the B-pillar still needs to have holes drilled down its entire length. Originally the metal was nailed in place.