by Steve
on April 27, 2013
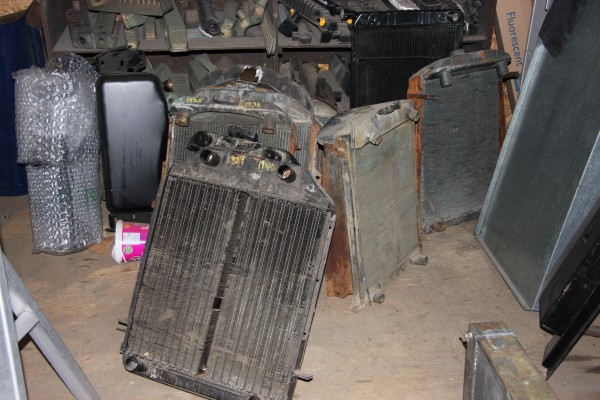
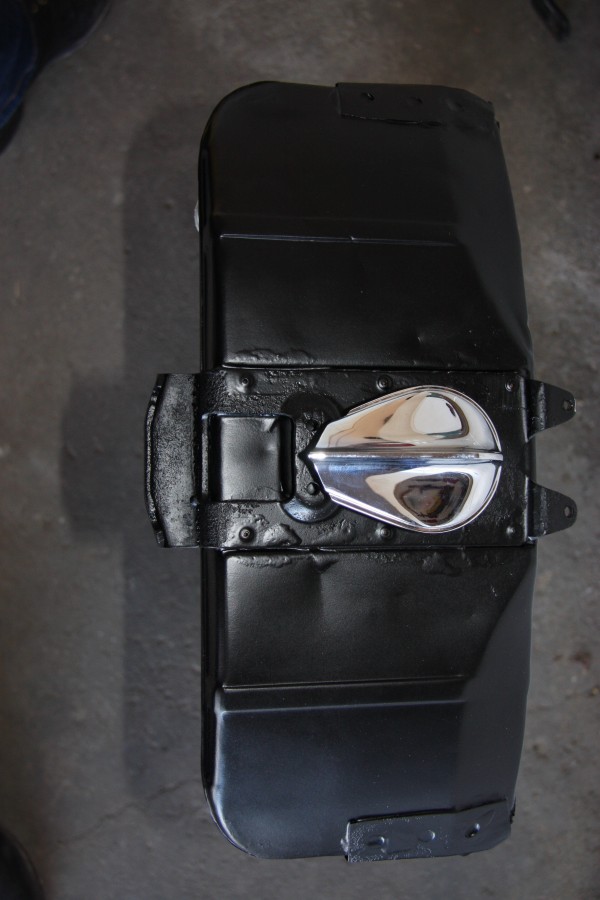
It was back to the rad shop to pickup my rebuilt 34 radiator and I could not resist taking a few more photos of Don Soenen’s 34 Ford. (Don’s Radiators in Lethbridge, Alberta, Canada)
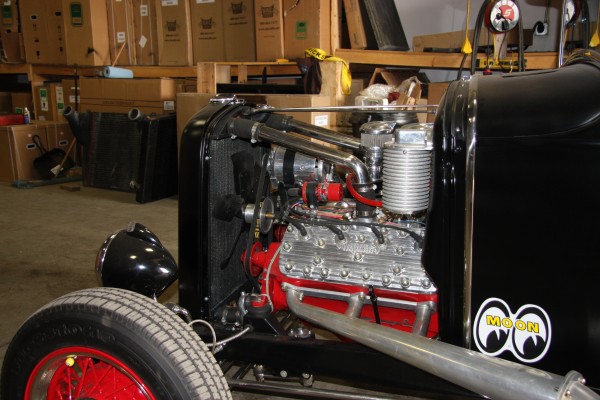
Nothing like a nicely detailed flathead.

Don has a collection of original Ford radiators from 1932 into the 50’s which helps him to authentically restore radiators for us purists.
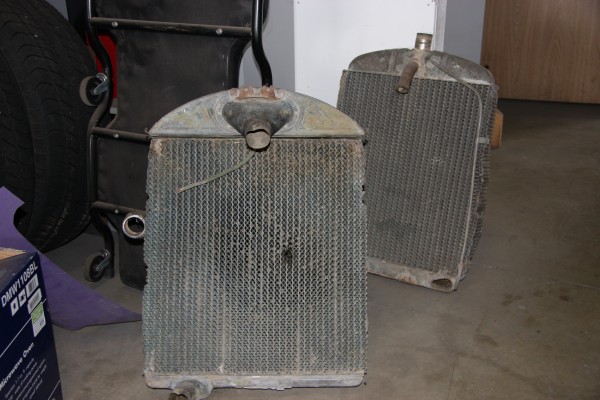
He can even restore the old honey cone rads or replace the honey cone core with new which he said can be costly.
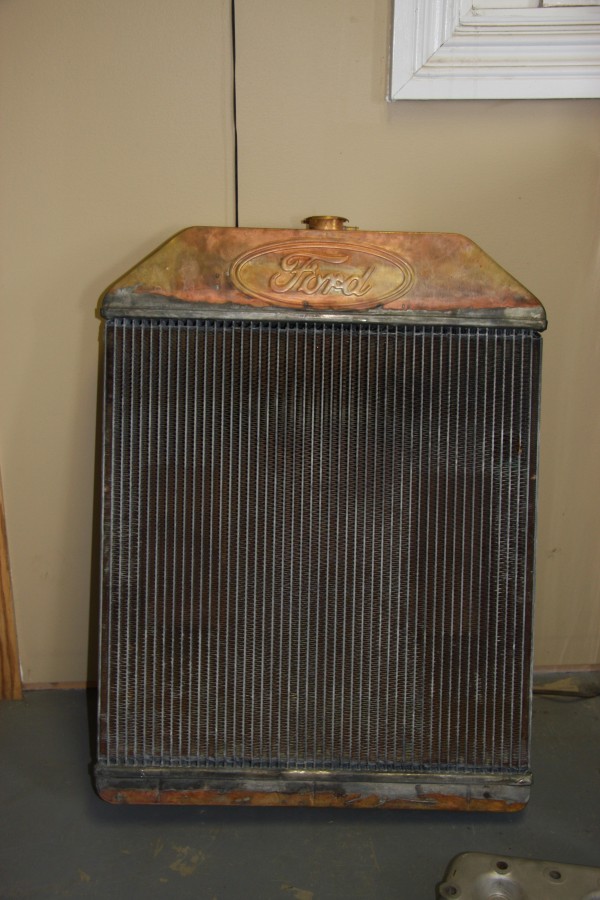
He custom builds rads for clients and I liked the detail that he built into this clients rad.
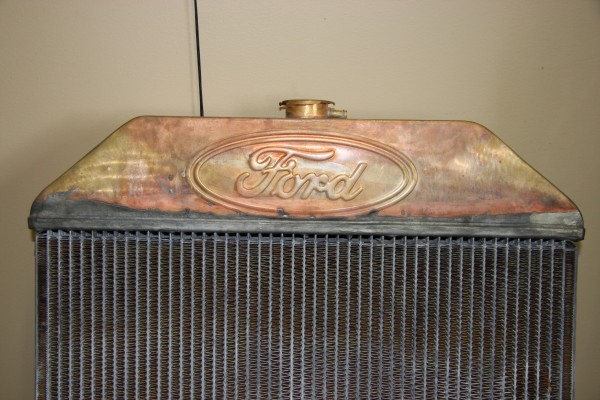
Henry Ford would be proud.
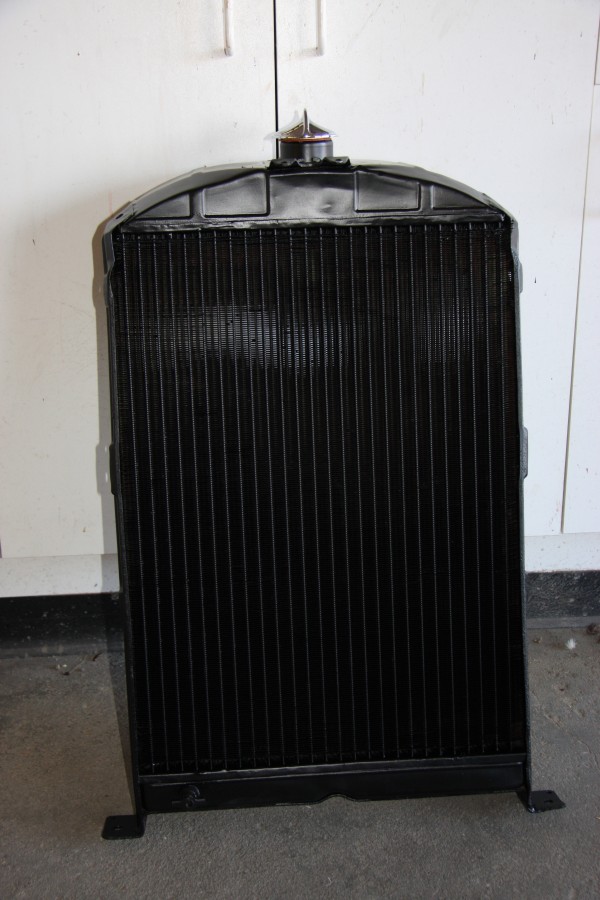
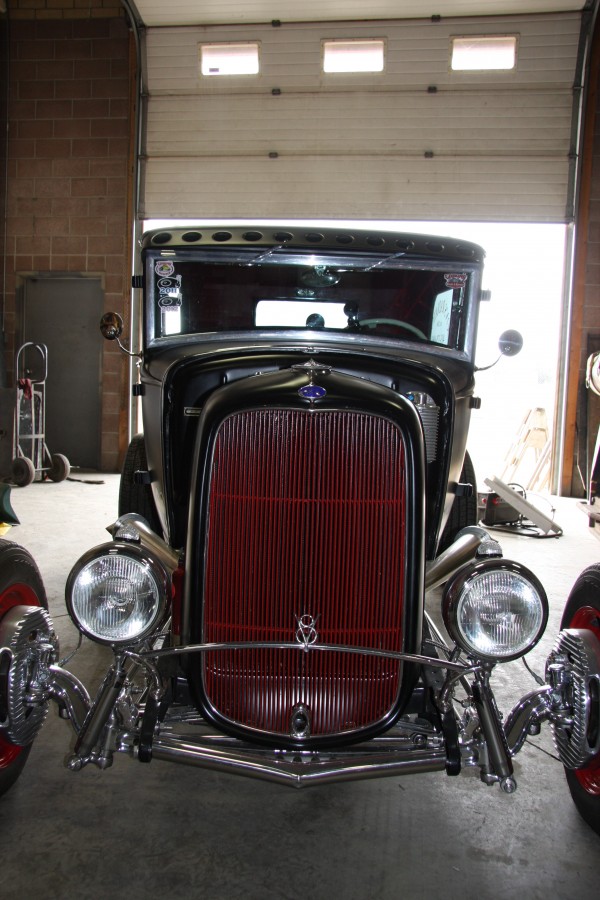
Don did a great job of restoring my 34 rad which he completely disassembled, cleaned and repaired the weeping issues.

He also removed the large dent in the top left corner of the rad. That’s one of those small bug me things that every time you open the hood your eyes look immediately at the dent.
Finally the top of the tank and now I wait for the frame so that I can install it back where it belongs…..
{ }
by Steve
on April 14, 2013

The color saga continues…

Once painted on a sample card, the color mixed by PPG is pretty close to the original paint manual. However, my sources tell me that it is likely still to brown and dark. I’ve seen photos of cars that look this dark, but also lots that are lighter and grayer, like mine was to start with.
At the rate I’m going, I’ll be painting her back to the color she was.
The research continues, again, anyone who has an original part in Cordoba that they could lend me, I’d appreciate it!
{ }
by Steve
on April 14, 2013
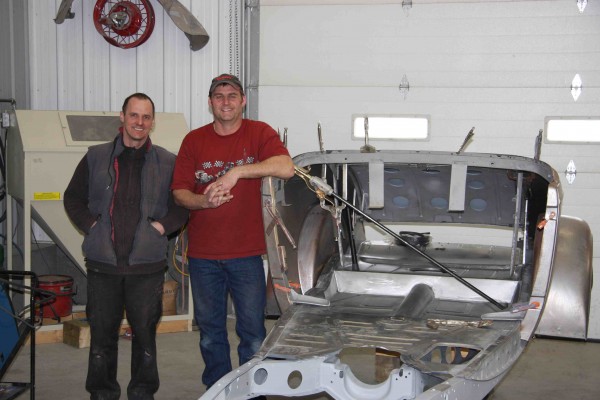
I should introduce you to the body team at Alternative Restoration. Owner Byron Valcourt (on the right) and Robert Szep are both exceptional at paying attention to detail, they are also excellent sheet metal fabricators.
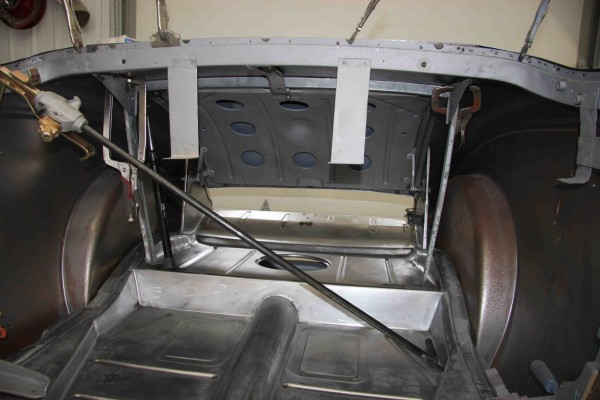
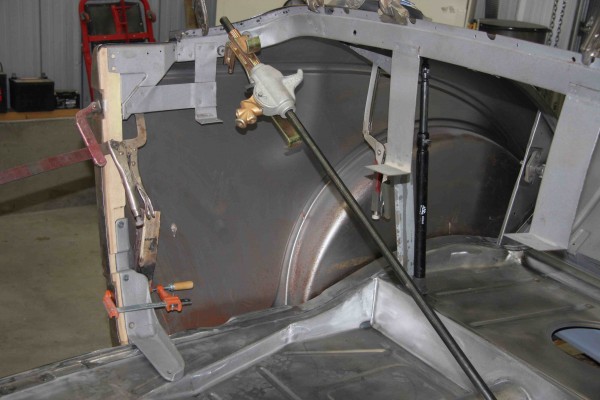
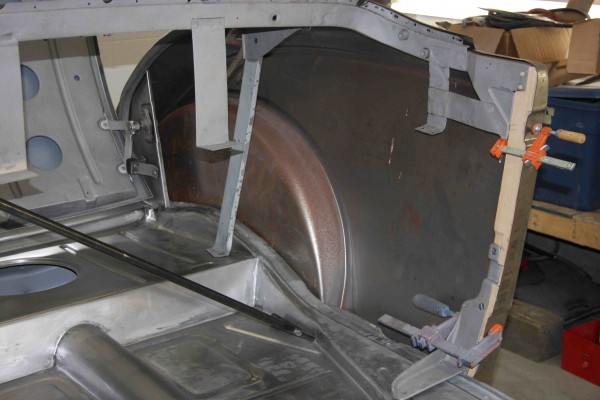
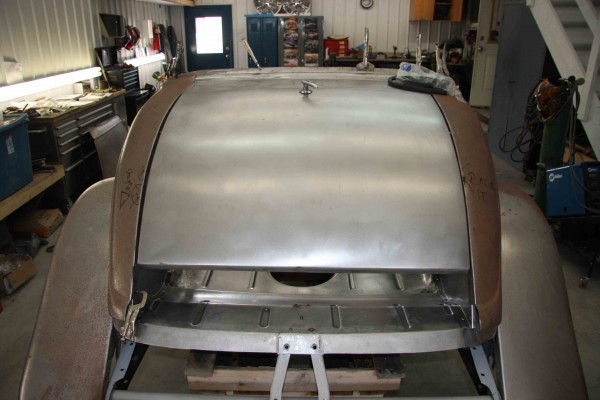
The tedious task of reassembling the rear 1/4 panel and deck lid is next and the guys are starting to mock everything into place.
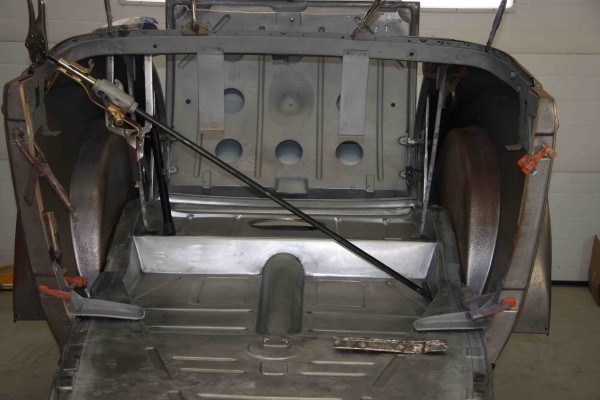
They will be adding additional temporary bracing to hold the rear body components in the correct position.
The wooden components; door posts, cowl posts and header were purchase from Brad’s Woodshop in Washington (360) 378-3886. (Brad does not have a web page) His door posts fit just like the original. I will post additional photos when we fit the cowl post and header into the cowl.
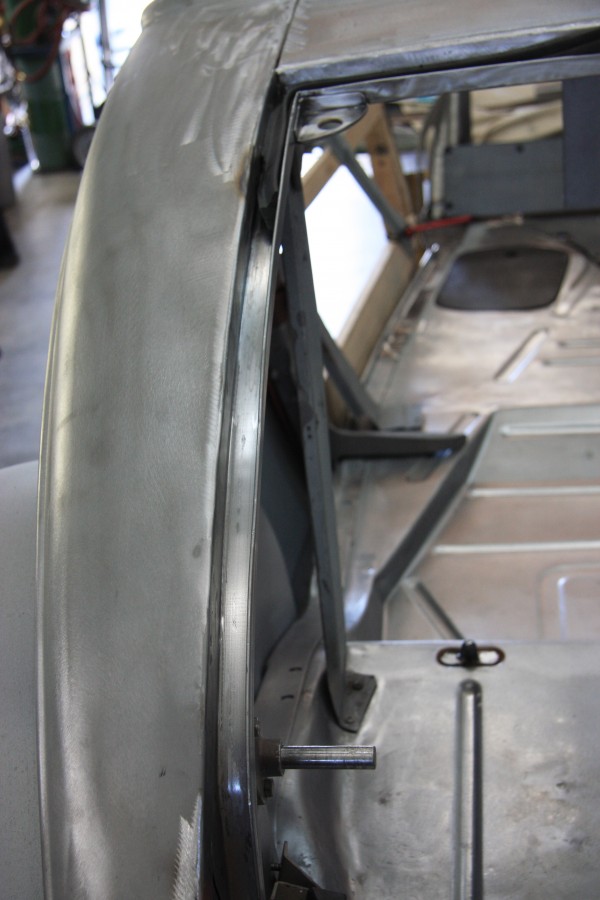
The drivers side 1/4 panel and door post.
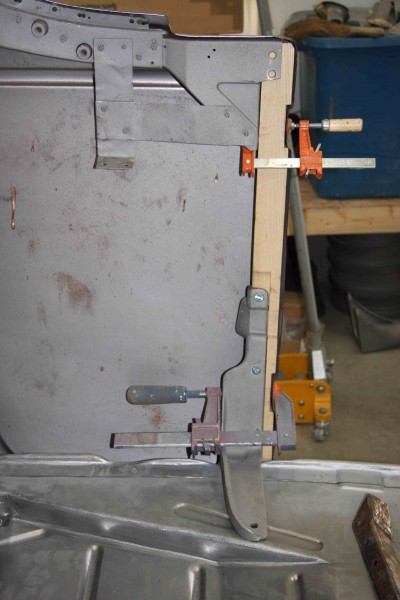
A little closer look at the fit of the driver side wooden door post and cast B-pillar bracket.
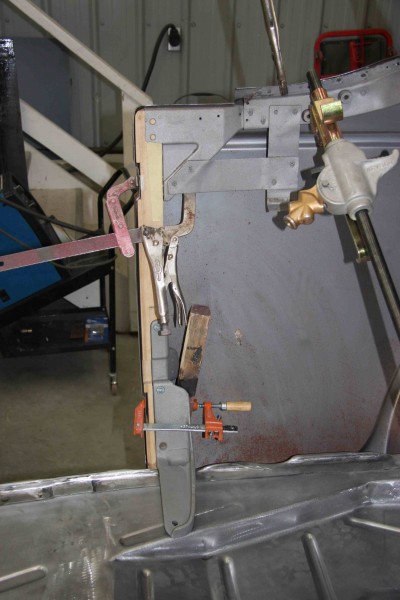
Passenger side wooden door post and cast B-pillar bracket.
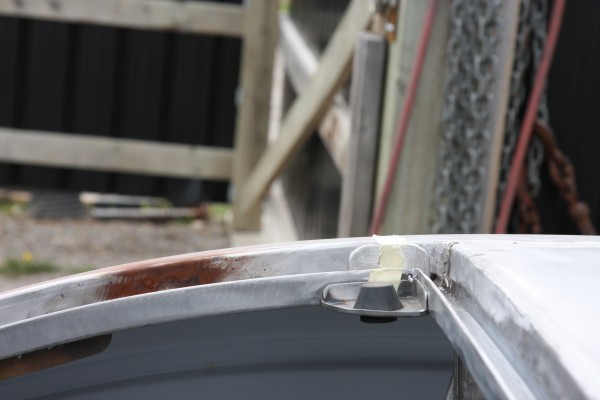
With the deck lid in place the guys can now start to set the correct gaps between the deck lid 1/4 panels and the panel above the deck lid. If you look up at the top left corner of the deck lid you will see the rubber deck lid seal. This will be a sacrificial seal that will be installed into the deck lid drip rails/rain gutters so that we can achieve the correct fit of the deck lid into the drip rails/rain gutters with the rubber seal in place.
{ }