I haven’t posted for a number of weeks because my 88 year old father pasted away November 21, God Rest his Soul, and I was busy taking care of his and my mother’s affairs. The sad part is that my father will not see the 34 completed (but a small part of me thinks that maybe he will).
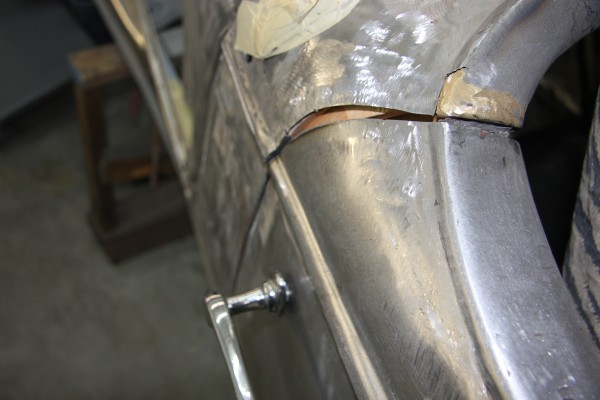
We continued working on the upper cowl, cowl sill and the drivers door.
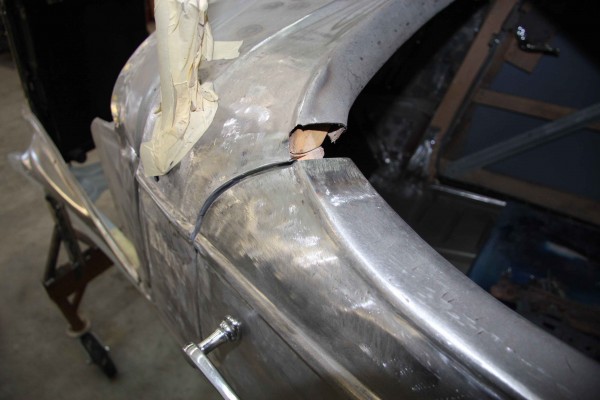
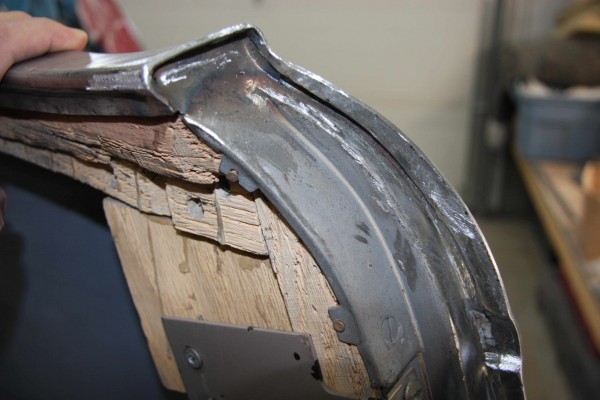
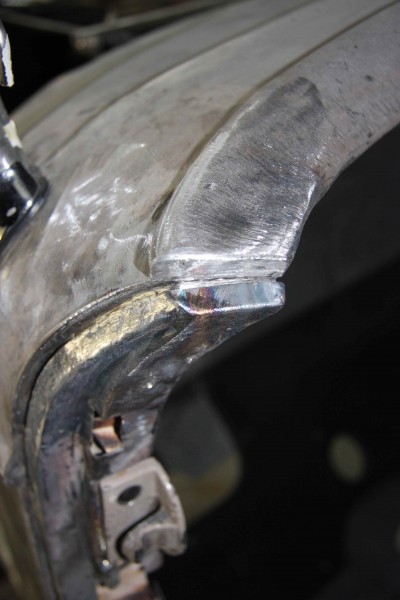
At top of the cowl edge we cut away the fracture steel which at onetime was repaired with a brass bracing rod.
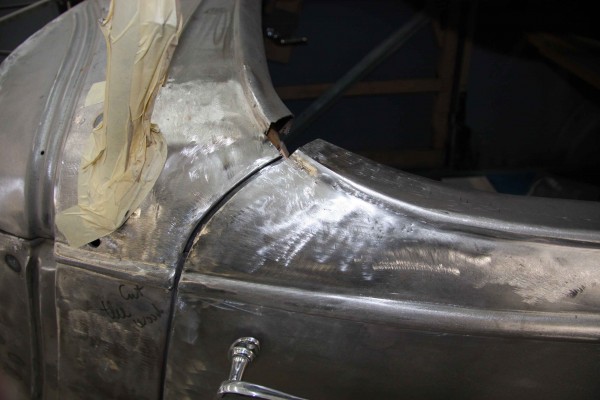
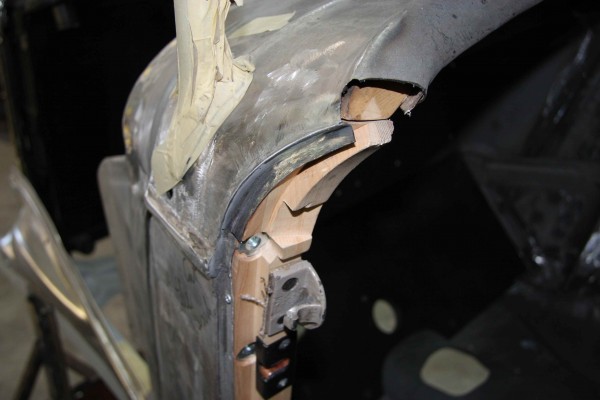
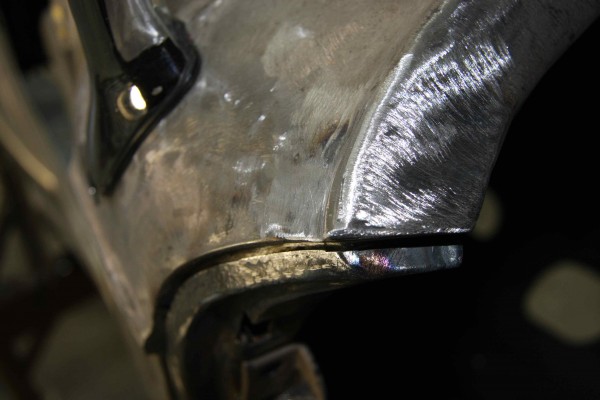
The upper cowl now looks much better than it’s previous incarnation.
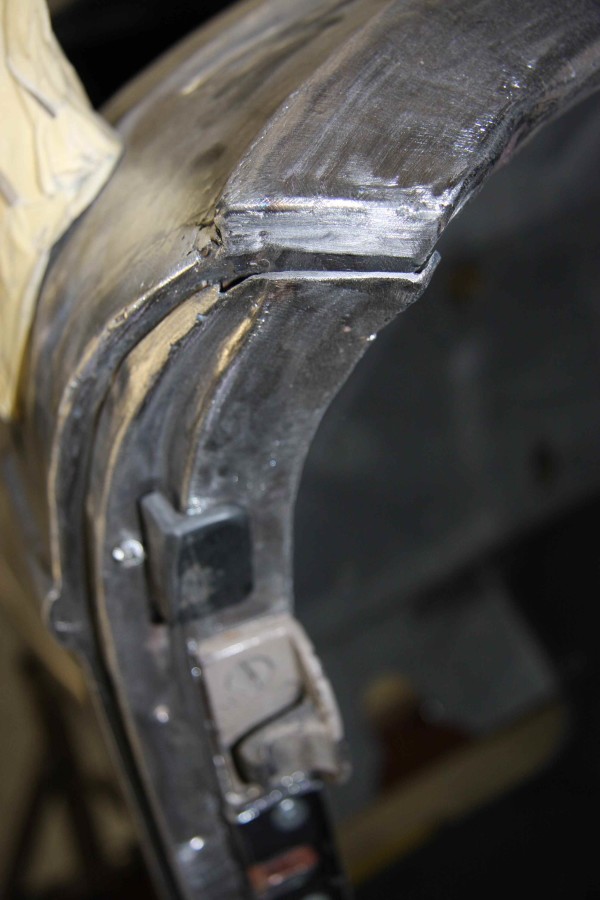
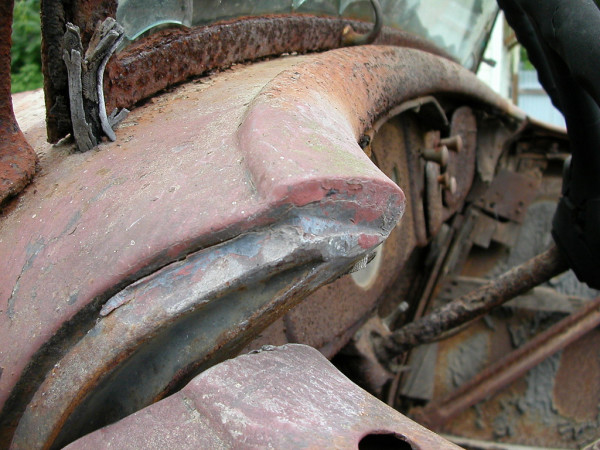
The top of the cowl Sill was originally finished at the factory with a bead of lead as you can see in this unrestored roadster photograph. We haven’t yet finished mine because we need to disassemble the sills, cowl wood so as to prime and paint the bare steel. We will then reassemble and finish the upper and lower sill.
We have also fit the inner cowl sill to the cowl.
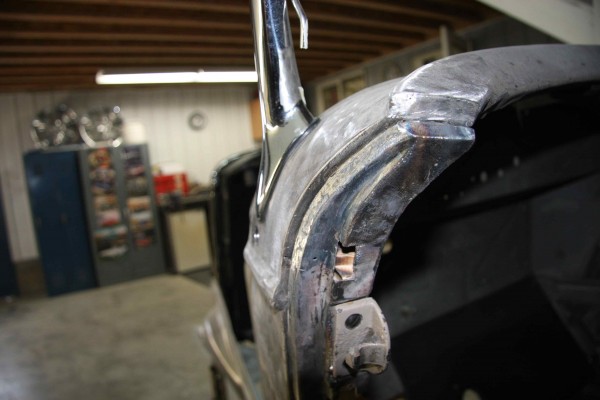
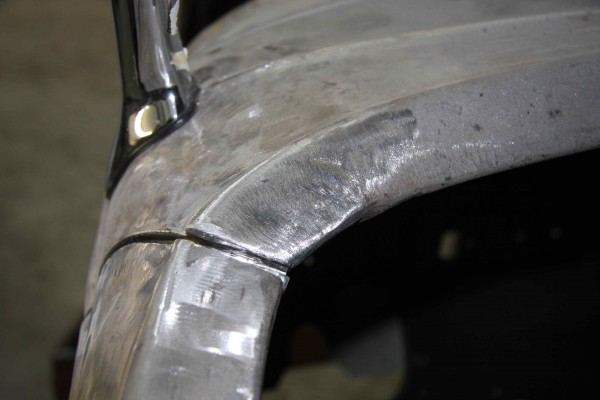
With the drivers door closed I’m now very pleased with the fit of the upper door to the cowl.
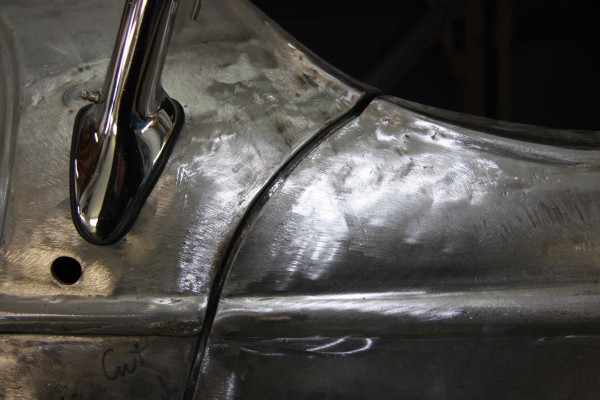
The seam between the cowl and door is very uniform and the door now fits very snugly in place.
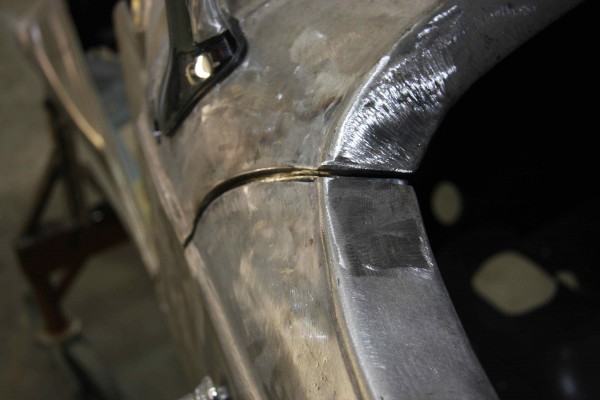
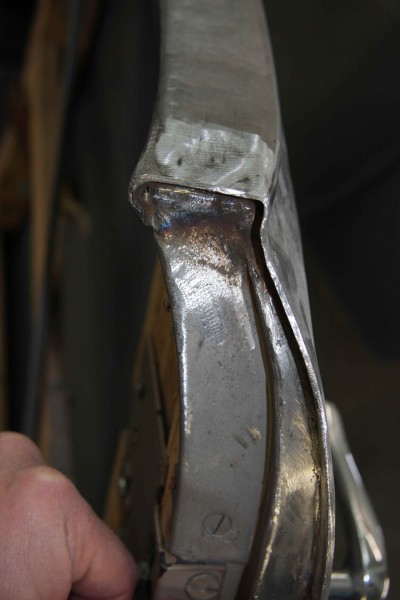
The metal work at the front of the driver’s door is also complete.
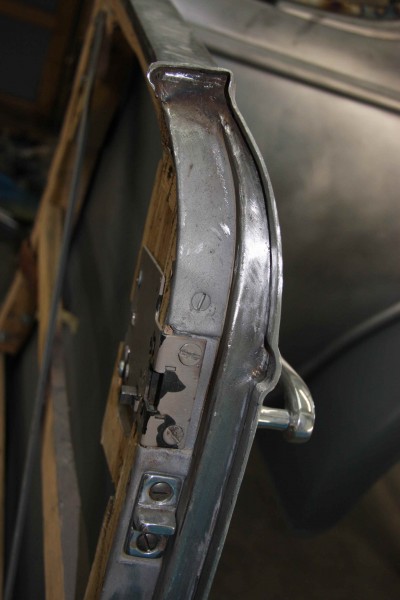
Ignore the screws holding the door latch in place they are not correct. The correct ones will be installed shortly.
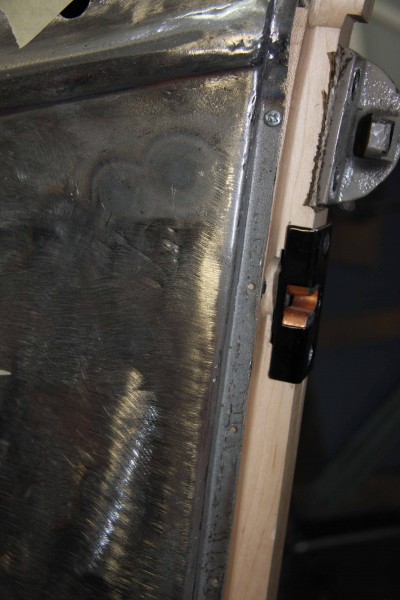
You can see in this photo the nail holes which run the full length of the cowl. The cowl is nailed in place and then the cowl sill goes over top and overlaps the cowl covering the nails.
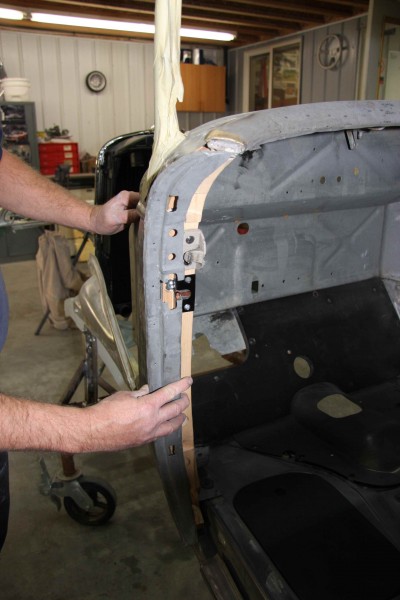
Here you can see the general fit of the cowl sill.
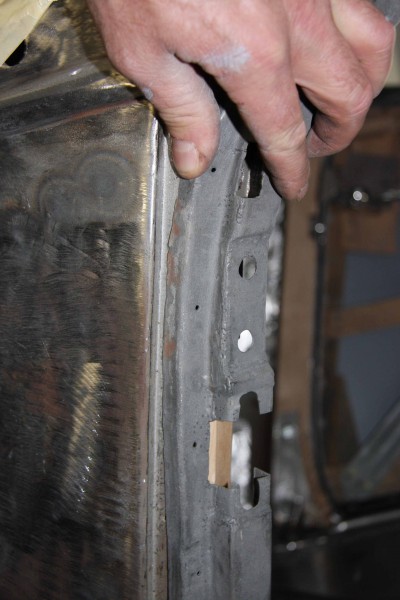
You can now see the flange on the cowl sill that overlaps the cowl and covers the nails that I spoke of previously. Once the cowl sill is in place it also has holes drilled in it running the length of the cowl and will be face nailed to the cowl wood . The driver’s cowl sill needed a bit of metal work because it was a little wonky.
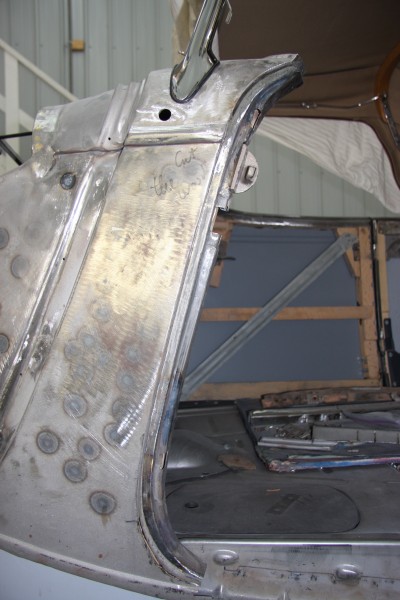
The cowl sill is now in place where it belongs.
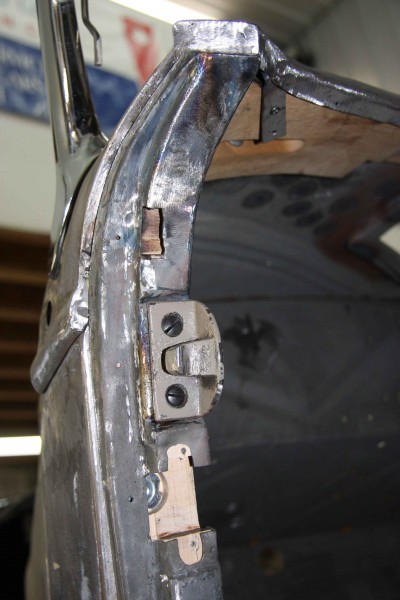
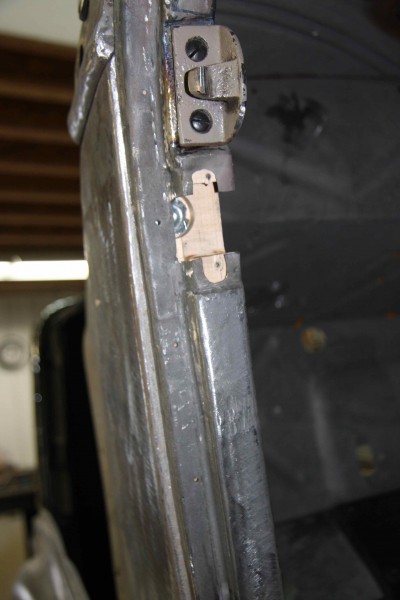
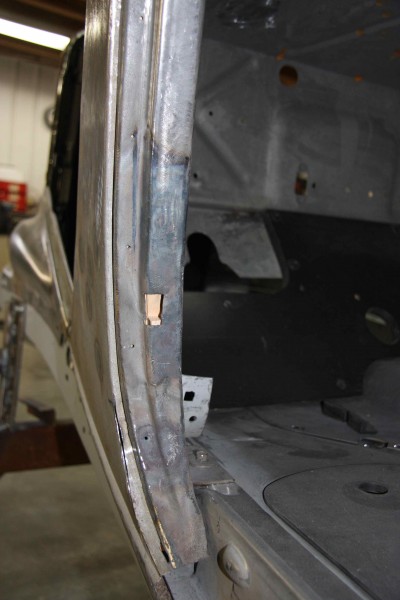
The cowl, cowl sill, cowl wood are only temporarily in place. They will be removed and all metal parts will be sprayed with Dupont DTM Epoxy primer then reassembled.

Comments on this entry are closed.
Sorry for your loss.
Thank you I think of him everyday.
I’ve read over you progress several times, I’m starting on 34 roadster basket case in a couple of months, your info will be a great reference, Thank so much, Dave
Very impressed with your metal work Steve ,and the subrails and floor pics are super informative as I,m starting on my first 34 five window retrieved from a creek bed (carcas but she,s mine) ps your old floor and that scuffed fender were lookin not too bad. Hope your driving soon!. Thanks Steve. Owen
Owen thanks for the kind words and I will be posting new updates shortly. If you need any help with your restoration just let me know.
Hey Steve just wondering if you have any advice or experience in shipping parts,panels,from the states to a border shipping address .or Canadian dealers?
I need to replace the door check strap in my ’34. However I have never removed the door panels and would like to have an idea before I attempt in an effort to mitigate any damage.
Ideas?
John I’ve sent you the installation instructions which shows you exactly how the door panel and strip welting are installed. There will be quite a few upholstery tacks that will need to be removed from the door strip welting first, then from the edge of the door fabric and finally the door fiberboard panel.